Creating Text Boxes
Whenever you enter text onto a slide in PowerPoint, you're going to enter it into a text object that's already created for you in slide layouts � or into a text box that you create yourself.
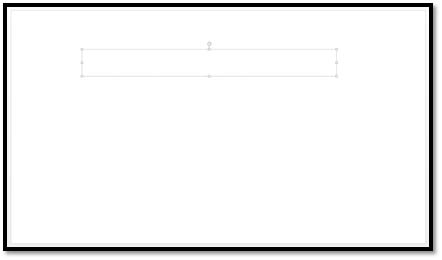
Below we have a blank slide.

There are no objects or placeholder objects.
To add a text box so we can add text, go to the Insert tab and choose Text Box from the Text group.
Your mouse cursor will turn into a downward facing arrow. Simply draw your text box on the slide.
You can now add text and format the text box as you would a text object.
Entering Text Onto a Slide
Okay, so you have your presentation layout and colors, but now comes the hard part of adding text to it, right? Well, you're partly right. It is time to add text, but it's definitely not the hard part. Adding text to a slide is very easy to do. In fact, it's almost self-explanatory.
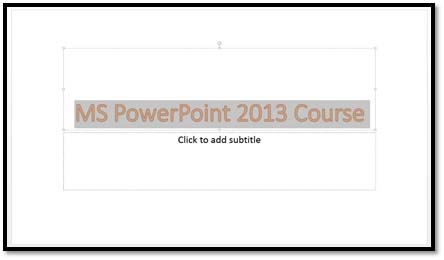
If you have your PowerPoint 2013 open, look at the slide in a brand new presentation. If you don't have it open, a snapshot appears below.
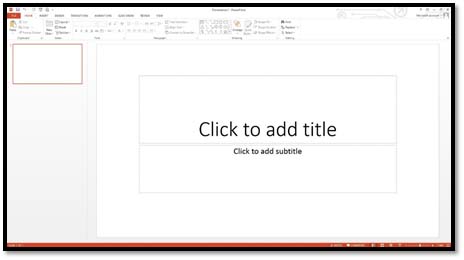
There is already text on the slide to serve as a placeholder for the text that you'll add. The boxes surrounding the text (as shown) outlines the text object area. The text object area is the place on the slide where you can type.
To add text, simply click inside one of the text boxes. For this example, we're going to change the title text.
Click inside the text box that says "Click to add title."
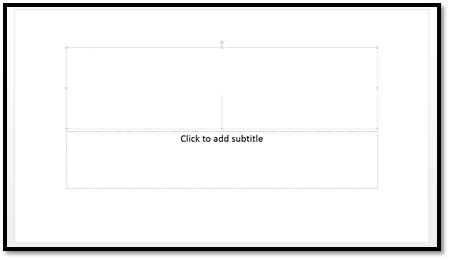
When you click inside it, the current text will disappear and, instead, you will see a cursor. The border of the text box will also change.
Now, just type in the text that you want to appear.
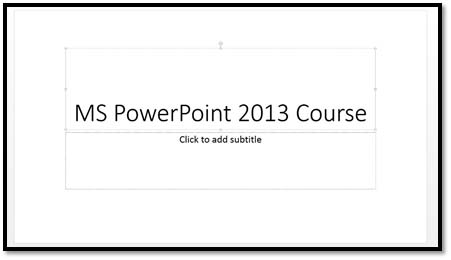
When you're finished, click outside the text box.
Applying a Font
The font determines the way your text appears on your screen and when you print the presentation. There are many different types of font. The more common types are Times New Roman and Verdana.
You can apply a font to either an entire presentation, or to certain portions of a presentation. The choice is yours. To apply a font, click on the Home tab and go to the Font group.
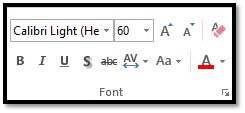
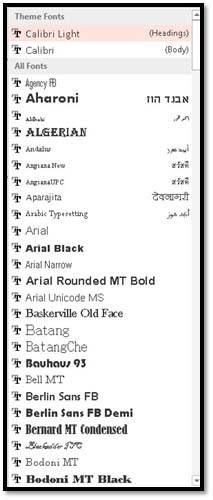
The type of font you're currently using will appear. In the picture above, the current type of font is Calibri Light. You can click on the downward arrow in that window to display other types of font available to use.
To change the type of font within a presentation, or for the entire presentation, simply select the text to be formatted with a new font, then select your new font. It's really that easy.
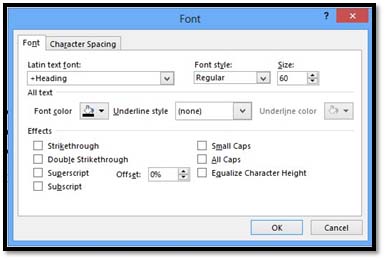
Note: You can also do all font formatting by selecting the arrow key  to the right of the word Font at the bottom of the section. By clicking on this arrow, you can also alter character spacing.
Changing Font Size
In addition to changing the type of font, you can also change the font size. Next to the type of font under the Home tab is a box that states the size of font currently being used. Using the picture above, the font size is 60.
Once again, you can use the down arrow key to either enlarge or reduce the font size. To change the size of the font, simply select the text that you want to change, then select the new font size. You can change an entire presentation, or just a portion. The choice is yours.
You can also use the two uppercase A's beside the font size box to change the size of fonts you're currently using.

Pushing the larger A will increase your font size by one for each time it's clicked. On the other hand, clicking the smaller A will decrease the font size by one for each time it's clicked.
Font Attributes
You may want to select boldface or italics, or underline a section of text. The boldface command in MS PowerPoint is represented by an uppercase, boldfaced B. Italics are represented by an uppercase, italicized 'I', and underline by an uppercase U with a line under it. These buttons are located directly below the font type window in the Font group.
To add italics, boldface, or underlining to any portion of a text within a presentation, select the desired text, then click the appropriate button (B for boldface, I for italic, or U for underline.)
Next to the commands for boldface, italics, and underlining, you'll see an "abc" with a line through it. This is for strike-through. When clicking on this button, it will put a line through any text you have selected.

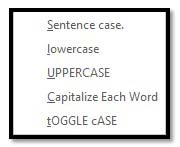
The uppercase A and lowercase A that are situated side by side  allow you to change the case of selected text. You can change from lowercase to uppercase or vice versa, toggle tHe CaSe, or select other common capitalizations.
The Text Shadow button  adds a shadow behind text, so it stands out on a slide.
The Character Spacing button  adds spacing between characters.
The Clear All Formatting button  removes all formatting from text.
Font Color
Changing the font color is as simple as changing the font. By default, your text in Word 2013 appears in a black font. If you want to change the font color, look for the uppercase A with a colored bar under it in the Font group, as pictured below.

Select your text, then click on the button to choose the color you want to apply to the selected text.
WordArt
WordArt is a very popular feature on MS Word. To use WordArt, go to the Text group under the Insert tab. The WordArt button looks like this: .
.
When you click the downward arrow, you'll see the WordArt menu:
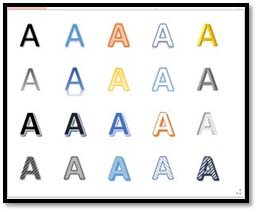
Select the way you want your text to look and click on it.
You can now format WordArt.
Bulleted and Numbered Lists
The types of lists you can create are really simple and easy to remember. Bulleted lists have bullet points and numbered lists have numbers.
- If you want to create a list with existing text:
- Select the text you want to make a list.
(Note: Above is an example of a bulleted list.)
Click on the Home tab and go to the Paragraph tab. Select either the bulleted or numbered list button, whichever you need, as pictured below.

(You'll notice that the first button is for a bulleted list, the second for a numbered.
When creating a new list:
- Select the text that you want to turn into a bullet or numbered list.
- Click either the bulleted or numbered list button.
We're going to add bullets to the text pictured below:

First, we click within the text object, then select the text.

Then we click on the Bullet List button.

Paragraph Alignment
As with all word processing programs, you can either left, right, center or justify your text and paragraphs. You can either do one of these things to a portion of text, or all of the text within an object.
This is an example of text that is aligned to the left.
This is text that is aligned to the right.
This text is centered.
The following text is justified so it is aligned between the left and right margins inside a text object, adding space between letters if necessary. It gives the presentation a clean look.

The buttons or commands for aligning text are located under the Home tab in the Paragraph group, as shown below.
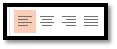
In the above picture, the left alignment button is highlighted. To the right of it is the center align button � followed by the right align button. On the other side of the right align button is the justify button.
When you justify a paragraph, both the left and right sides of the paragraph are flush with the margins. It gives it a block look.
The text below isn't justified:

Here's what happens when we justify text:

To use these, simply select the text, and click on the appropriate button.
Position Text
You can also choose whether to center text within an object, or whether to align it right or left, or toward the top or the bottom. Click the Align Text drop-down menu in the Paragraph group under the Home tab to position text within an object.
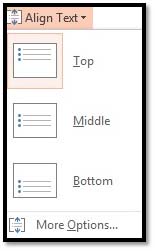
Using the graphics as guides, select how you want text positioned within an object.
Creating Columns
There are several benefits to using multiple columns. They can:
- Make your presentations easier to read
- Make them visually interesting
- Make them look professional
- Allow you to use space more efficiently
Below is an example of a presentation that was made more interesting simply by breaking the text up into columns.

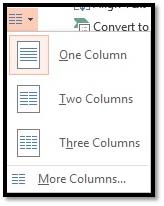
Adding columns to a presentation is incredibly easy. Go to the Alignment group under the Home tab.
Click to put an insertion point in the text for where you want a new column to begin.
Now, click the Column button  .
.
From the drop-down menu, select how many columns you want.
PowerPoint then adds the columns, as shown below.

Now you can adjust the size of your text object if you need to so that the addition of the columns make it more visually appealing.
If you need to add more space to your columns, or add more than three columns, you can do so by clicking More Columns from the Columns drop-down menu on the Ribbon.
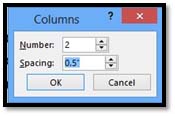
We've adjusted the spacing.
Click OK when you're finished.
In the snapshot below, we added columns and also some formatting that you'll continue to learn how to do as you progress through the course.