Think of notes as attachments to your slide. However, unlike an email attachment, people who view your presentation as a slide show will not be able to see your notes. Only you will. This means you can use notes to write down what you need to say during the presentation or even use notes as reminders for things you need to add, subtract, or edit on your slides.
Notes are typically hidden at the bottom of the screen. They are in a Notes pane that's only big enough to show a few lines of text. The Notes pane is marked by the words "Click to Add Notes," as shown below (beneath the current slide).
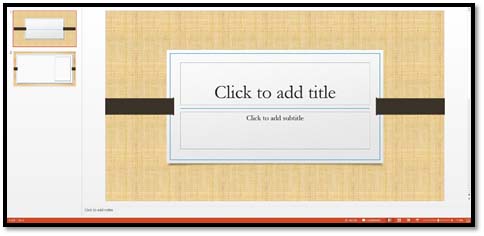
If you don't see "Click to add notes," click the Notes button on the bottom bar:  . The bottom bar is where your zoom control and status bar are also located.
Add Notes to Slides
To add a note to a slide, simply click in the "Click to add notes" section below your slide. You'll then see the cursor and you can start typing. You can format your notes just as you would any other text, so as you type you can also make the text look like you want. This means you can also add bullet points to notes, bold face and italicize notes, and the list goes on.
When you're finished adding a note, you can click in the current slide area, or click on another slide in the Slides pane.
Viewing Notes in Notes Page View
As you're creating slides, you can add notes to the bottom of the page in the area we showed you above. You can also view the first few lines of your notes for each slide in the exact same way.
However, there may be times when you have paragraphs of notes for one slide. You may want to view the notes in their entirety or even add to/edit the notes. For this reason, you can also view your notes in Notes Page view. This will show you all the notes for the slide and allow you to add more.
To view this, click on the slide for which you want to your notes, then go to the View tab. Click the Notes Page button.
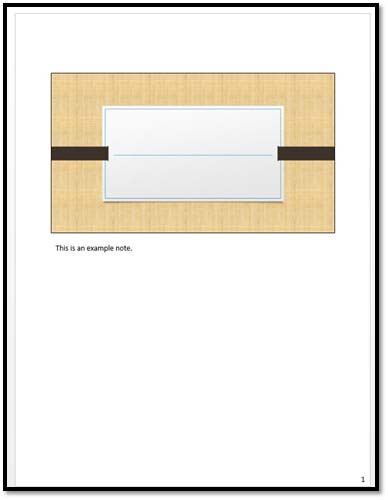
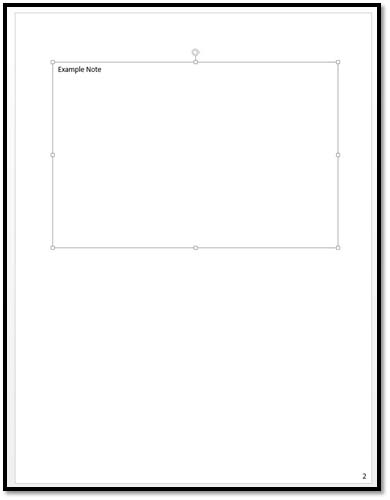
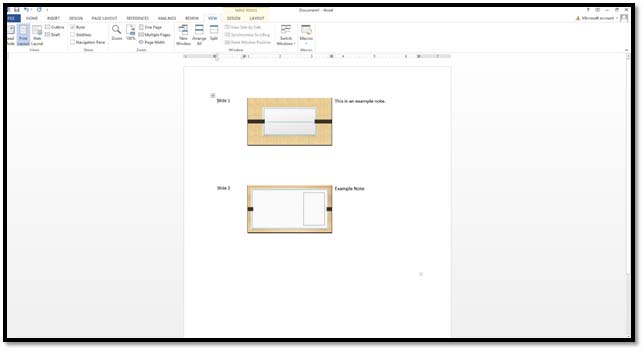
The snapshot above is in Notes Page view. You can see three things in this view. You can see the slide that corresponds to the note, you can see the note, and you can see the number of the slide (in the bottom right hand corner).
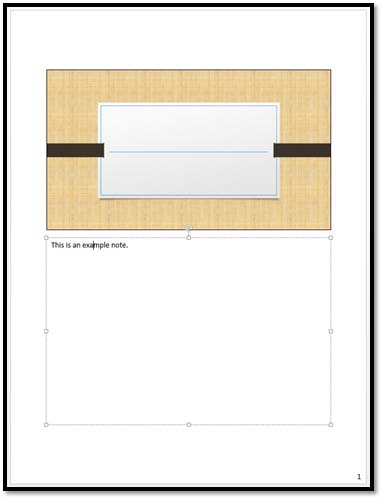
If you click on the note, you'll see the note is a text object. You can resize the box around it, or move it.
You can also click inside to edit or add to the text.
Add Notes in Note Page View
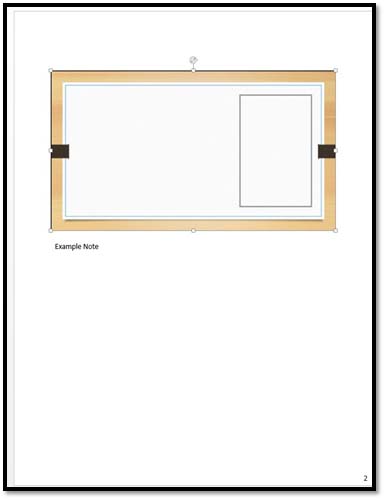
You can also add notes to a slide using Notes Page View. To do this, click on a slide in the Slides pane where you haven't yet added any notes. We've chosen slide #2. Then click the Notes Page View in the Ribbon.

Click inside the text object to start typing your notes.
Printing Notes
If you want, you can print out your notes to use during your slide show. This can be helpful if you don't have a computer that allows you to show your slides on a projector and your notes on a separate monitor. You can also create what's called a handout, which will feature thumbnails of your slides with notes. We're going to show you how to do both.
First, let's say you want to print your notes just for your own use, but you don't want to print thumbnails of the slides as well. In other words, you just want to print the notes.
The first thing you need to do is go to Notes Page View.
Click on the first slide for which you want to print the notes. Select the slide, as we've done below.
Press Delete on your keyboard.
Don't worry! You are not deleting the slide from your presentation. You are simply taking the slide out of your notes.
Now you can move the text object box up on the page, if you wish, before you print � or leave it where it's at.
Next, go to the Backstage View and click Print.
In the Print Layout section, select Note Pages.
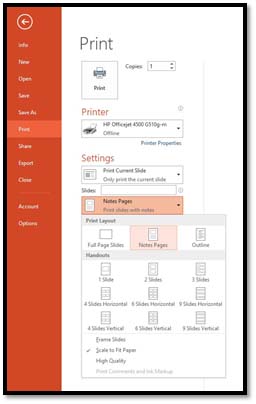
Set the rest of your printing options, then click Print.
Please note that if you didn't delete the slides in Notes Page View, you can choose how you want the slides printed.
Creating Handouts With Notes
You can also create handouts that include a thumbnail of your slides, as well as notes. You can use a handout for your own reference, or hand it out to those viewing your presentation. Your handout will be created in MS Word. This means you can format it in MS Word to make the handout just as attractive as the presentation.
From there, you can print it.
To create a handout, go to the Backstage View and click Export.
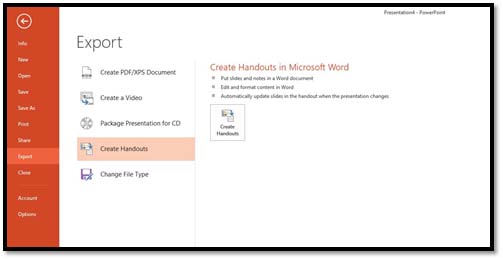
You will then see this dialog box:
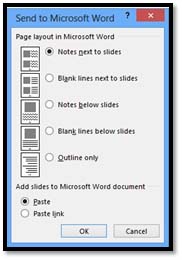
Select the page layout you want, then click OK. Your handout is then created in MS Word. You can print the handout directly from MS Word.
Display Notes on a Separate Monitor
PowerPoint can display your presentation in a mode called Presenter View. Presenter View displays the slides on a projector while your notes are displayed on your computer monitor. By doing this, Speaker View will show the current slide on the left and a thumbnail of the next slide on the right. Your notes will appear below the next slide preview.
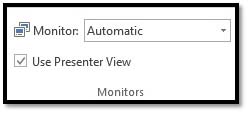
To activate this view, go to the Monitors group under the Slide Show tab and select Use Presenter View.
Inserting Pictures, Graphics, Shapes, and Other Things
Aside from learning to add and format text onto your slides, learning to add images, graphics, and other items will be critical to being able to use PowerPoint successfully.
Inserting Pictures From Your Computer
Anytime you want to insert anything into your presentation, whether it's a picture, hyperlink, or graphic, chances are good you'll find the appropriate button under the Insert tab. The picture tools are grouped in the Images group on the Ribbon.
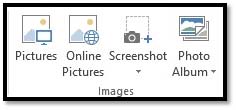
To insert a picture into a presentation that you have stored on your computer, simply click the Pictures button. A window will open, allowing you to navigate to the picture on your computer.
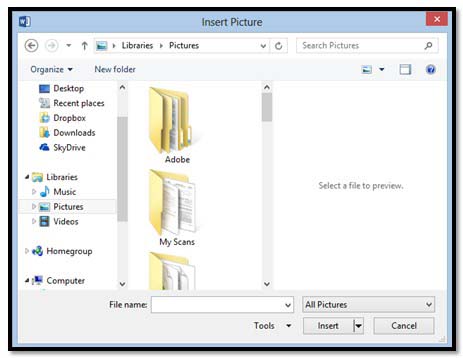
Click Insert when you've found the picture you want. It will be inserted onto your slide. You can then drag and drop it to the place on the slide where you want it to be.
Online Pictures and Clip Art
You can also insert MS Office clip art and images you find using Bing search, and images from your SkyDrive into a presentation. To do this, click the Online Pictures button  .
.
When you click the button, this window will appear:
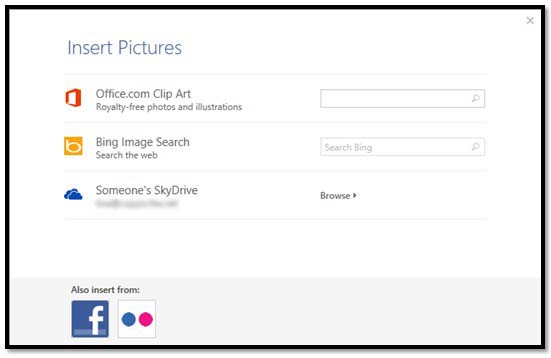
If you want to search for Clip Art, type in a description of what you're looking. Use keywords, such as coffee, woman, shopping, etc.
We're going to type in coffee.
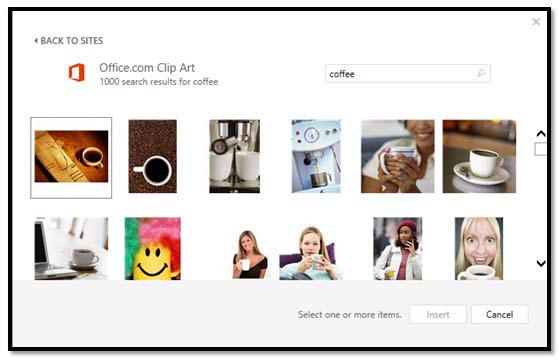
Select the picture you want by clicking on it, then click Insert.
To search for a picture on Bing, then insert it into your presentation, type in a keyword just as you did above.
We'll do coffee again.
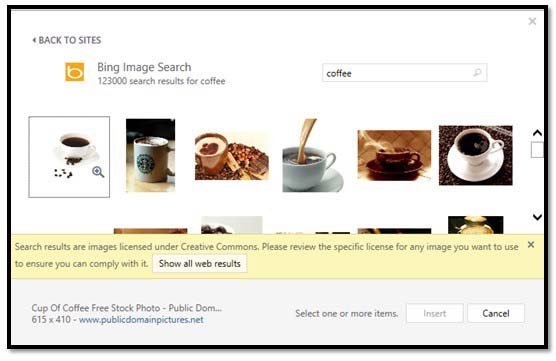
As you can see above, Microsoft lets you know that the images shown are licensed under Creative Commons.
As defined by Webopedia:

Make sure you check the copyright to be sure you can use the image. To avoid copyright issues, either use your own images, images that are in the public domain (no copyright), or purchase images from stock photo sites where you will receive a license with the image.
In addition to inserting pictures from Bing search, you can also insert pictures stored on your SkyDrive.
Click Browse.
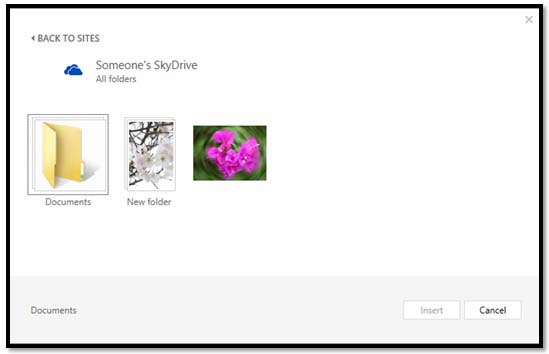
Find the image you want, then click the Insert button.
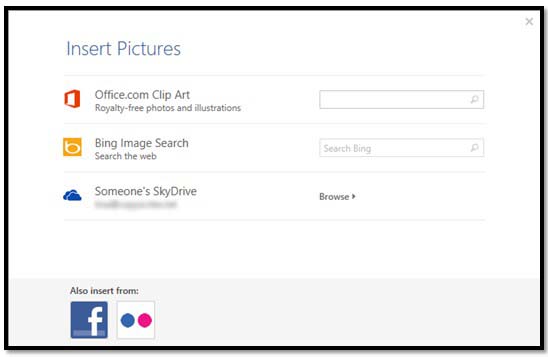
Insert Images from Facebook and Flickr
To insert images from Facebook or Flickr, click the Online Pictures button again.
For Facebook, click the Facebook icon at the bottom of the window.
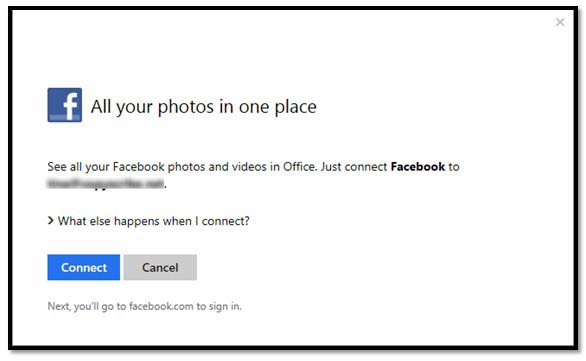
Click Connect.
You'll then be prompted to sign in to your Facebook account:
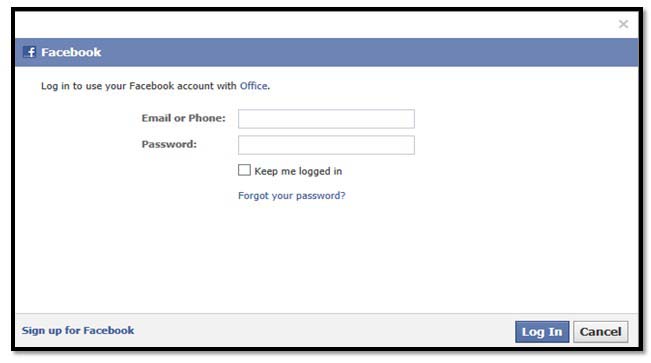
Click Log in. Once you're logged in, you'll see this screen:
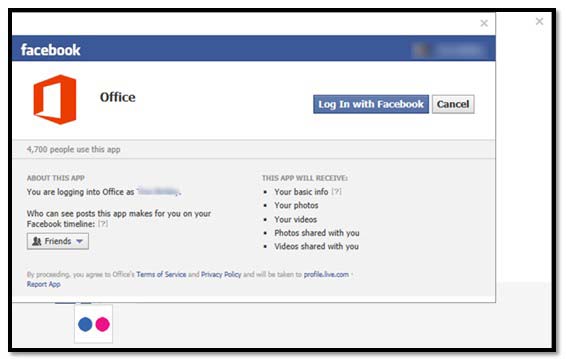
Click Log In with Facebook.
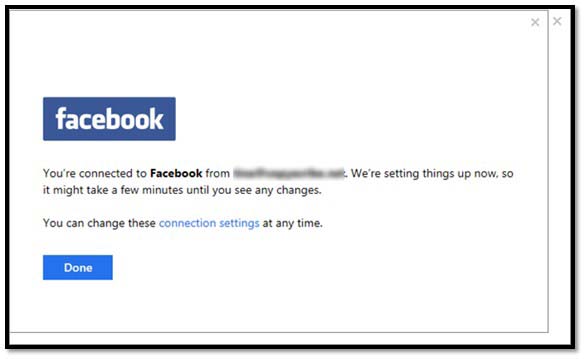
Click Done.
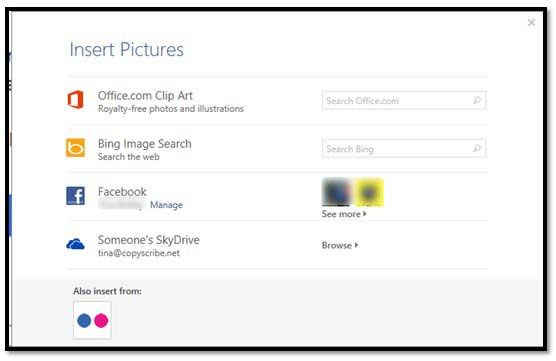
You'll then see Facebook listed with all the other locations where you can search for pictures:
If you want to add pictures from Flickr, click the Flickr button at the bottom to connect to your Flickr account.
Crop a Picture
When you crop a picture, you cut away the outer edge of the picture to create a new version.
Let's crop the picture below.

Select the image. Right-click on the image, and you'll see the Crop option in the menu. We've highlighted it below.
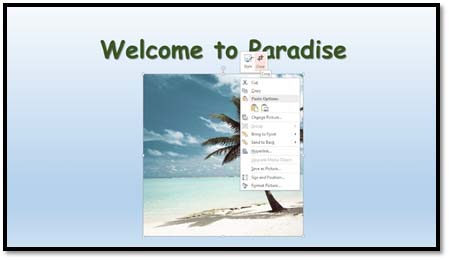
Click Crop.

You'll now see crop marks around the image � at all four corners, and on each side. These are the black marks. Click and drag your mouse on any of these marks. Click and drag inward on the image until you have cropped away the area you want to get rid of in the image.

The area you're cropping away is shaded in gray.
Click outside of the image to remove the cropped area.
Resize Pictures and Images
If you want to resize a picture or image, you can do it one of two ways.
You can click and drag on the handles as you did with objects earlier in this course. However, this may distort the picture if you're not using the corner handles only, so the aspect ratio stays the same.
You can also change the measurements of the picture to change its size.
To do this, double-click on the image. The Format tab will appear.

Go to the Size group on the far right and enter in the new measurements for height or width. PowerPoint will automatically adjust the height if you change the width (and vice versa) to maintain the aspect ratio.
Removing Backgrounds
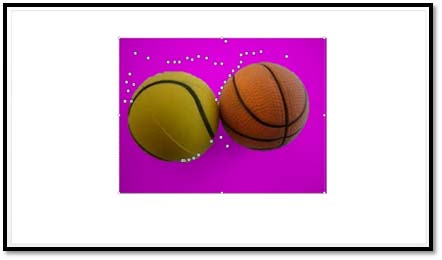
One of the neatest features you'll find when working with images in PowerPoint 2013 is the ability to remove the background from images. This is especially nice when you want to add an animation to an image to make it seem more life-like. For instance, say we wanted to make these two balls bounce:
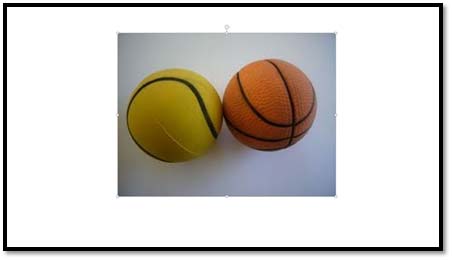
In order for it to be believable, we would have to remove the background.
To do this, double-click on the image to bring up the Format tab.
You'll then see this in the Ribbon:
If you look at your image, you'll see it has a bounding box and pink shading.
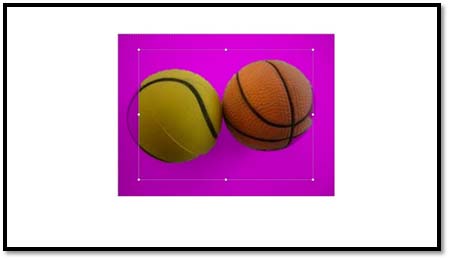
Everything that's in pink is marked to be removed. This includes part of our balls. We can use the handles to drag the bounding box out so it completely frames our balls.
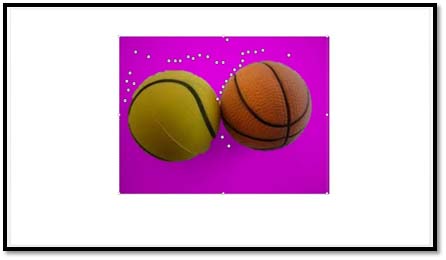
When we do this, part of the area that was pink turns gray. That means it's no longer marked to be removed. But that's okay.

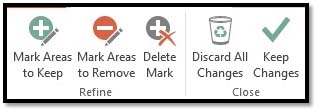
Going back to the Ribbon, click Mark Areas to Remove.
Start clicking in the areas you want to remove, starting with the areas closest to the pink-shaded areas, as shown below.

As you can see, part of the yellow ball was removed. Now we can click Mark Areas to Keep to repair it so that doesn't happen.
The areas we've marked to remove are represented by white circles with minus signs in them. The areas we've marked to keep are marked by white circles with plus signs in them.
Now click Keep Changes in the Ribbon.

Now we can either use this image with the background removed, or we can click the Undo button to remove or keep more areas of the image and smooth it out.
Color
You can easily adjust the color of any image you place in your presentations.
To do this, double-click on the image.
You'll then see the Picture Tools Format Tab.

Click the Color button:
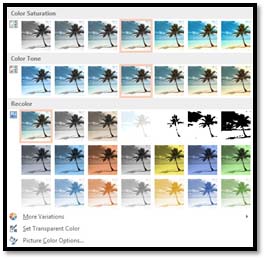
Choose the color effect you want to apply to your image.
Color Correction
You can also adjust and modify the colors in your image through color correction. Once again, go to the Picture Tools Format tab by double-clicking your image.
Click the Corrections button.
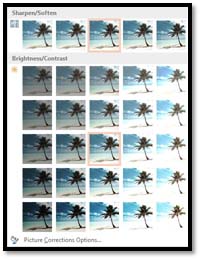
Choose a color correction.
Artistic Effects
Just as you can use Photoshop and other photo editing software programs to add effects to your images, you can also use Word for this.
Double-click your picture to bring up the Format tab, then click the Artistic Effects button.
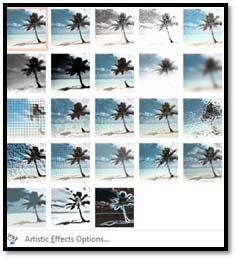
Choose the artistic effect that you want to apply to your image.
Inserting Shapes
There is so many things you can do to customize your PowerPoint presentation. One of those things is adding shapes.
To add a shape, go to the Insert tab and click the  button in the Illustration group.

Select a shape. We've selected a cloud in the Callout section. Now simply click in the presentation where you want the shape to appear and drag to draw the shape:

You'll see a bounding box around the shape.
The little arrow at the top of the shape that looks like the Redo sign can be used to rotate the shape to the left or right.

You can drag on the handles (the little squares) to enlarge or reduce the size of the shape.

Double-click the shape to bring up the Format tab on the Ribbon:

You can change the shape color (the fill) or the color of the outline. Right now, our fill is blue and the outline is black. You can also apply numerous other formatting options, as well as change the size.
We've changed the outline color and fill color below:

Formatting Clip Art and Pictures Using the Picture Tools and Format Ribbon
Whenever a picture is inserted or selected, the Format tab will automatically appear as a tab in the Ribbon. It provides you with a few of the most commonly used features available in image editing software like Photoshop. You can change the contrast, add artistic effects, remove backgrounds, or crop them. To view the Format tab, select a picture by double clicking on it.

In the center of this ribbon, you'll see styles you can add to pictures. You can add frames, drop shadows, reflections, etc.

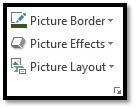
You can also add your own formatting to your images. To add formatting to your picture, you can click the Picture Border, Picture Effects, or Picture Layout, as shown below. These are located in the Styles group under the Format tab.
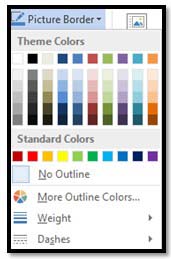
When you add a picture border, you can choose the color of the border, the weight (or thickness) of the line, and even the type of line (dashed, etc.).
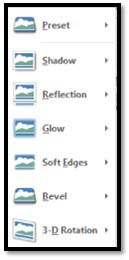
If you remember, earlier in this course you learned how to add text effects, such as shadows and reflections. You can also add these to your pictures by clicking on Picture Effects.
If you choose Picture Layout, you can format your picture with a caption or more information.
Here are the choices when you click Picture Layout:

Choose the layout you want to use.
Overlapping Images and Objects
You can also use the tools under the Format tab (either for pictures or shapes) to overlap objects.
Let's say we want to make our callout shape overlap our picture.

We simply drag and drop to make this happen.
However, let's say we want the callout shape to appear behind the picture. Double-click the shape to bring up the Format tab, then choose Send Backward>Send Backward.

If we had more than one image or shape that we wanted to send it behind, we'd have chosen Send to Back to make it go behind every other image, shape, object, etc.

We can double-click the shape or the image again, then go to Bring Forward>Bring Forward.
Using the Screenshot Tool
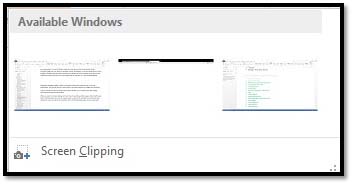
A feature that was new with Office 2010 is the ability to take a screenshot and have it appear instantly in your presentations. To use this feature, select the Insert tab and click the Screenshot button  . Be aware though, that this feature is somewhat limited, allowing you to only take screenshots of active windows. Windows that have been minimized to the taskbar will not be available. When we click the Screenshot button, we'll see a list of the windows that are available, as in the following example.
Selecting an available window will take a screenshot of the entire thing and insert it into your presentation. You can then use the Format ribbon to crop the screenshot or change other attributes.
If you do not want to take a screenshot of the entire window, you can select the Screen Clipping command at the bottom of the window.
When you select the Screen Clipping command, the entire window will be opaque. Click the left mouse button and drag the pointer over the area you want to capture. This selected area will become clear. Release the mouse to capture the screenshot, and it will automatically appear in your presentation.
Insert a Hyperlink Into a Presentation
A hyperlink is a link to a website or location on the Internet � or even your computer, if the person reading your presentation has access to your computer files. To insert a hyperlink into a presentation, go to the Insert tab, then the Links group. Click the Hyperlink button.
You'll see this window:
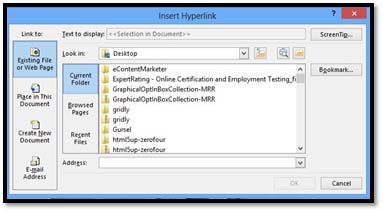
In the Text To Display field, enter in the text you want displayed in your presentation. This will be the text people can click on to take them to the web page. It doesn't have to be a URL. You can type in the word "cow" if you want.
Now, let PowerPoint know what to link to.
Go to the column on the left and choose a file or web page, a place within your presentation, a new presentation, or an email address for an email link.
Then let PowerPoint know where to look, either on your computer, on web pages you've recently visited, etc.
You can also type in the address in the bottom field.
Click OK when you're finished.
Inserting an Action
Action buttons are simply buttons you can insert into your PowerPoint presentation that make it easier for you � or your audience � to navigate. They can especially be helpful if you're giving your presentation to a larger crowd. Some examples of action buttons are linking to another slide and running a program when it's clicked.
To insert an action button into a slide, first click on the slide and select an object. Next, go to the Insert tab on the Ribbon. Click the Action button.
You can then choose the action you want to insert from the dialog box.
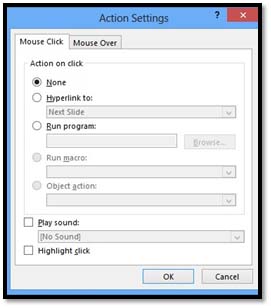
For this example, we're going to Hyperlink To the next slide.
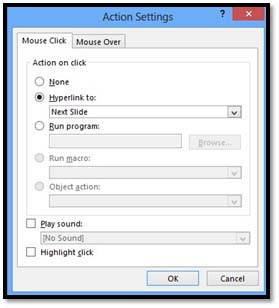
Click OK.

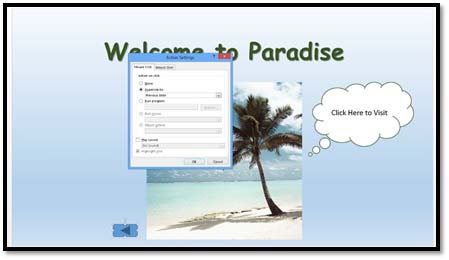
In the example above, we selected the callout shape object, then made it a link to the next slide. Perhaps on the next slide, it tells you how to take a vacation to the exotic locale pictured.
Creating an Action Button
You can also create an action button. You can do this instead of using the object to perform the action.
To do this, go to the slide where you want to place the button.
Go to the Insert tab. Click the Shapes button. Go to the bottom of the gallery and choose one of the Action Button shapes.
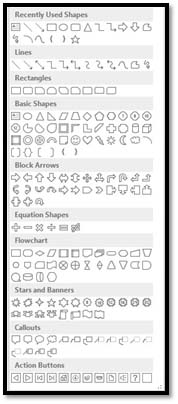
There are Action Button shapes to create actions that (from left to right):
-
Go back to a previous slide
-
Go forward to the next slide
-
Go back to the first slide in the presentation
-
Go to the last slide in the presentation
-
Display the first slide
-
Information -- there's no action for this button type.
-
Return � displays the recently viewed slide
-
Movie � there's no action for this button type
-
Presentation � there's no action for this button type. You can use hyperlink actions or any action found in the action dialog box we learned about in the last section.
-
Sound � there's no action for this button type
-
Help � there's no action for this button type
-
Custom � there's no action for this button type
Choose your Action Button. Draw it on the slide, as we've done below.
You can see our action button, as well as the Action dialog box. If we would have drawn a button that didn't have an action assigned to it, we would have assigned an action in the dialog box, above.