In this article, we'll talk about:
-
Shape data
-
Inserting fields
-
Grouping shapes
-
Inserting images
-
Working with Layers
Shape Data
Chances are, if this is your first time learning Visio, but you've used SmartArt in a program like Microsoft Word before, you're thinking that Visio has more bells and whistles� but is basically the same thing. If you thought that, you couldn't be more wrong.
Although the SmartArt feature in programs such as Word give you the ability to create diagrams, they are basic and nothing more than illustrations. They contain illustrations of data, but they do not contain data.
Visio offers illustrations, but also data. In fact, part of what makes Visio so unique is that the data resides in the very shapes that you drag onto your screen.
Let's learn how to find the data for shapes, then to add or edit it.
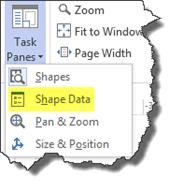
Select Shape Data.
You'll see this box appear next to your page in the Drawing window.
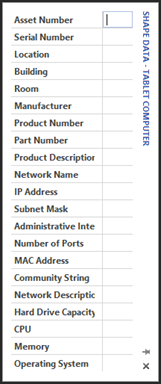
If the tablet PC shape we dragged onto our page actually represented a physical tablet PC, we could enter the data related to that tablet PC, such as the serial number, CPU, memory, etc. That data would be stored with the shape.
Inserting Fields
Now that you know how to enter data into a shape, you might want some of that data to appear in the drawing. You can make that happen by inserting a field, then linking that field to shape data.
Start out by clicking on the shape. For us, it's the tablet PC.
Next, go to Insert>Field. You will see the Field dialogue box:
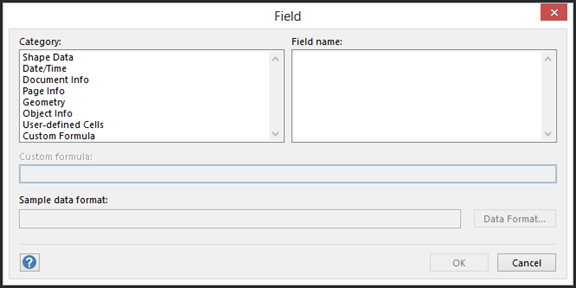
Select Shape Data from the Category section of the dialogue box.
You'll see the fields appear in the Field Name section.
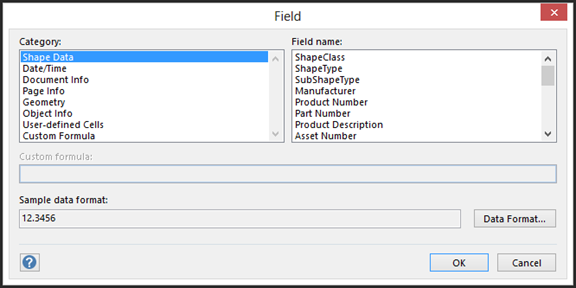
We're going to located Serial Number in the Field Name section, click it to select it, then click the OK button.
As you can see, the serial number we entered into for this shape now appears below it.

Grouping Shapes
Needless to say, a huge part of using Visio involves working with shapes. You can also group shapes together to turn multiple shapes into a single unit for moving, modifying, etc.
Before we learn how to do this, click the File tab. Go to New, select the Flowchart category, then open the Program Structure template by clicking on the thumbnail.
Go to the Shapes window. Choose the Cloud stencil and drag it onto your page in the Drawing window.
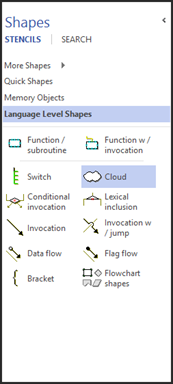
Next, drag the Function/Subroutine stencil onto your page. Use the dynamic grid to line these up in the center of the page.
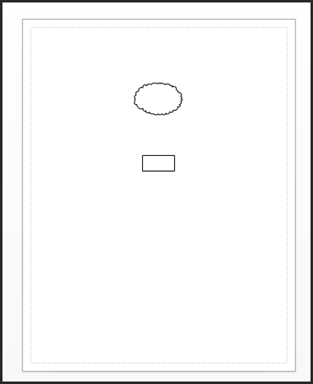
Next, drag to create a bounding box around the shapes. To do this, hold down your left mouse button and drag to create a box around the shapes, as shown below.
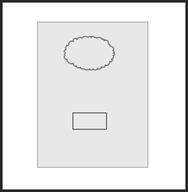
The snapshot above shows the box we created by dragging our mouse. In this snapshot, we are still holding the mouse button down.
The next snapshot shows the bounding box that we created when we released the left mouse button.
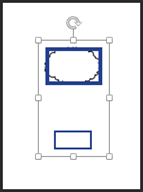
With the bounding box around the shapes, go to Home>Group then select Group from the dropdown menu.
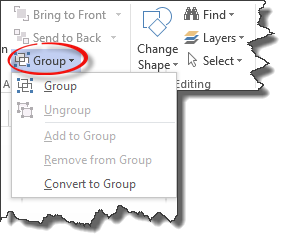
The blue border around our shapes is now gone. This lets us know that the shapes were successfully grouped.
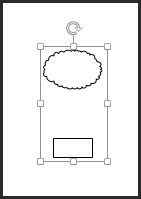
You can now apply borders or fills, add data, or anything that you can do with individual shapes.
Insert Images from Your Computer
To insert an image into a drawing, go to Insert>Picture.
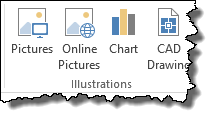
This will allow you to search for local images to insert into your drawings.
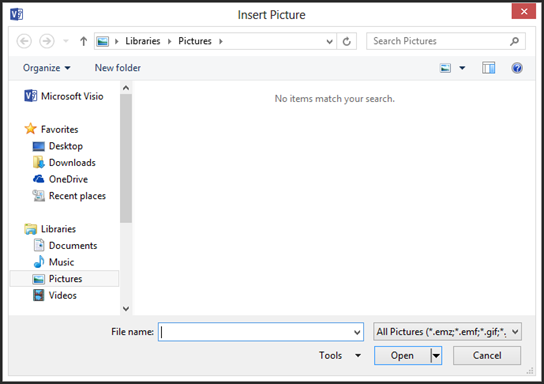
Locate the image you want to insert. Click on it to select it, then click the Open button.
You can then move the picture around your page, or use the bounding box to resize it.
If you double click on the picture, you'll bring up the Picture Tools Format tab, shown below.

You'll find the image adjustment tools that are common to all Microsoft Office programs under this tab. You can adjust the brightness, compress the picture to reduce the size, rotate the image, crop the image, etc. Take some time to explore the image tools that Visio gives you.
Insert Online Images
You can also insert MS Office clipart, images you find using Bing search, and images from your OneDrive into a drawing.
To do this, click the Online Pictures button under the Insert tab.
When you click the button, this window will appear:
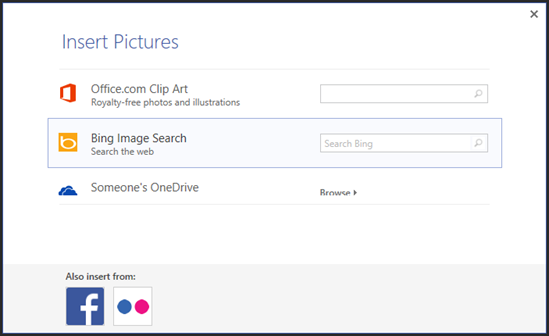
If you want to search for ClipArt, type in a description of what you're looking. Use keywords, such as coffee, woman, shopping, etc.
We're going to type in coffee.
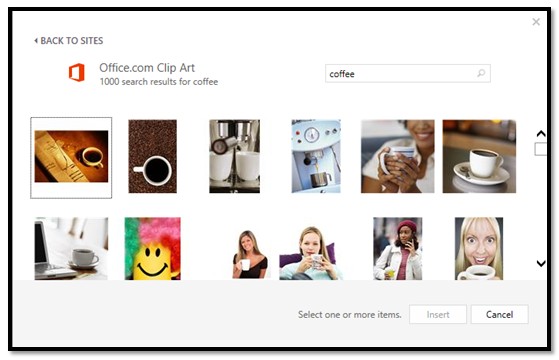
Select the picture you want by clicking on it, then click Insert.
To search for a picture on Bing, then insert it into your document, type in a keyword just as you did above.
We'll do coffee again.
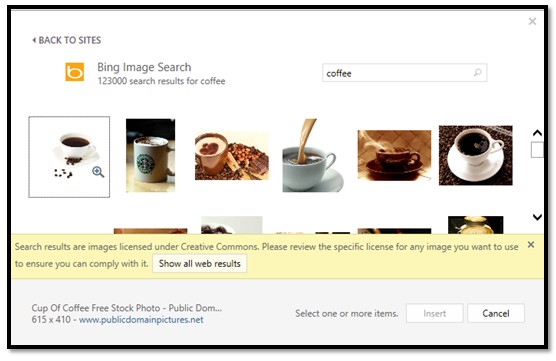
As you can see above, Microsoft lets you know that the images shown are licensed under Creative Commons.
As defined by Webopedia:

In addition to inserting pictures from Bing search, you can also insert pictures stored on your OneDrive.

Click Browse.
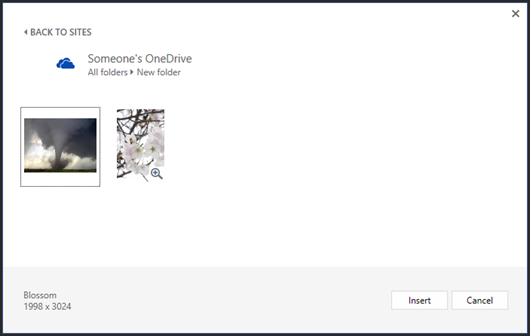
Find the image you want, then click the Insert button.
Insert Images from Facebook and Flickr
To insert images from Facebook or Flickr, click the Online Pictures button again.
For Facebook, click the Facebook icon at the bottom of the window.
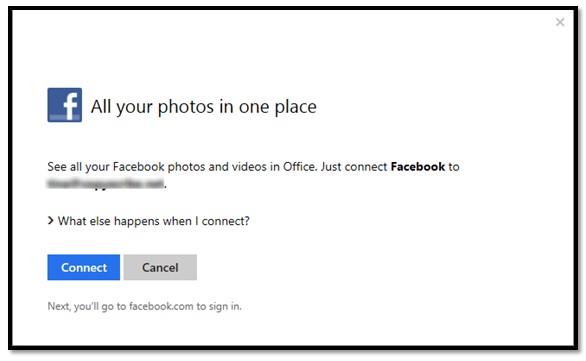
Click Connect.
You'll then be prompted to sign in to your Facebook account:
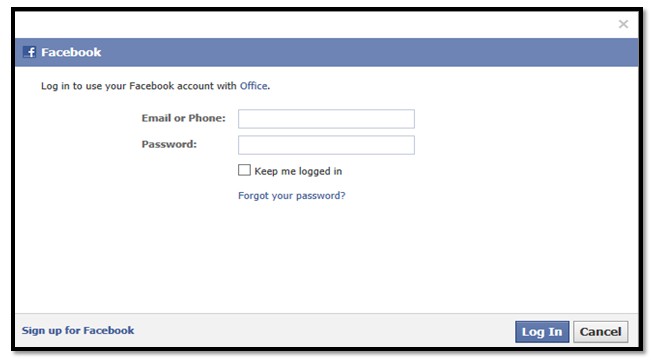
Click Log in. Once you're logged in, you'll see this screen:

Click Log In with Facebook.
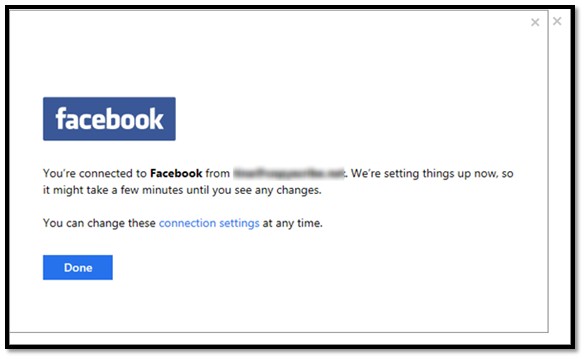
Click Done.
You'll then see Facebook listed with all the other locations where you can search for pictures.
If you want to add pictures from Flickr, click the Flickr button at the bottom to connect to your Flickr account.
Working with Layers
If you've ever used a program such as Photoshop before, then you are already familiar with layers. However, if you're not, don't worry. Learning how to use and work with layers isn't difficult at all, and it makes creating more complex drawings easier.
First, it's important to understand what a layer is. By definition, a layer refers to a level on which you place drawings, graphics, or images. The level is then stacked on top of another level. You can have as many layers in a drawing, graphic, or image as you want. Typically, when you save your work, it is flattened to one layer to reduce file size.
As we stated, that's the definition. An analogy may be easier to understand. Think of a square, flat piece of glass. Let's say you glue pictures on that piece of glass. You also have another piece of glass that's tinted a light orange. You glue that piece of glass on top of the first piece to give the picture and the glass an orange tint. Perhaps on top of that, you glue another piece with more pictures. You have three layers. This is an easy way to picture your layers in Visio.
In Visio 2013, you will use layers to arrange objects and control properties for the objects in each layer at once. For example, you can decide if a layer is visible when the drawing is printed. You can also "lock" certain layers so they can't be selected or moved.
To learn how layers work, go to File>New.
Select the Floor Plans category, then the Office Layout template. Click the thumbnail and open the template.
Notice your stencils in the Shapes window.
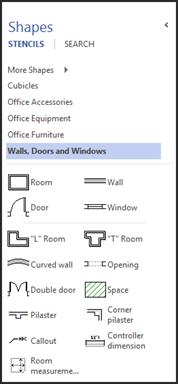
Create a drawing of a room by dragging stencils onto your page.
In the snapshot below, we're dragging a window to our room. Note how we're using the dynamic grid to line the window with the existing window.
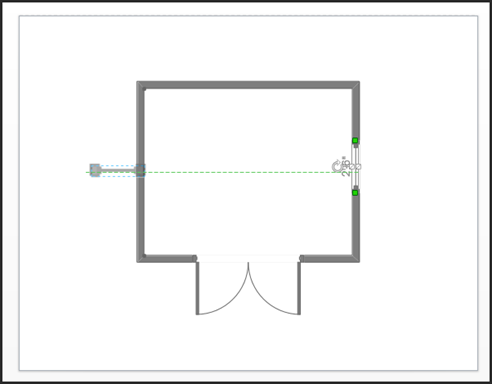
Now, when we move that window over our wall, Visio automatically rotates the window to snap into our wall so we can glue it.
Playing with floor plans is an excellent way to become comfortable with stencils in Visio.
Our office floor plan is pictured below.
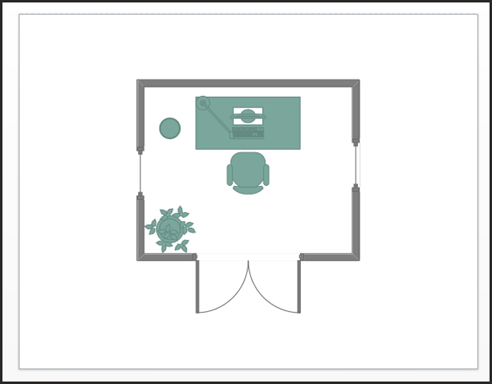
Now let's work with layers in our floor plan.
Select an object in your floor plan. It's preferable if you select one that you may want to move around or change later, as well as maybe add other objects too. We're going to choose to put our decorative objects on a layer, so we're going to select the plant.
Next, go to Home>Layers>Assign to Layer.
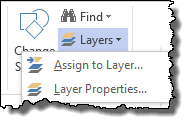
The Layers dialogue box appears. Here you'll choose what you want to put on this layer. As we stated above, we want decorative objects.
To do this, click the New button.
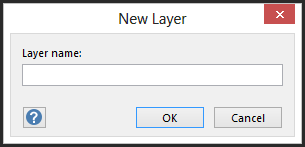
Enter a name for the new layer. Ours will be decorative furnishings.
Click OK.
You'll now see Decorative Furnishings listed in the Layers dialogue box. Put a checkmark beside it, as well as any other objects you want to appear in the new layer.
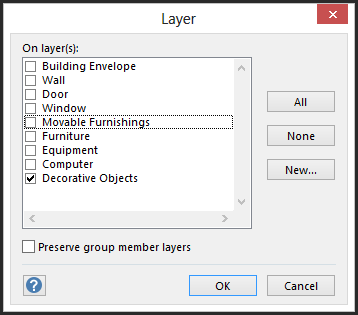
Click OK when you're done selecting what you want to go on the new layer.
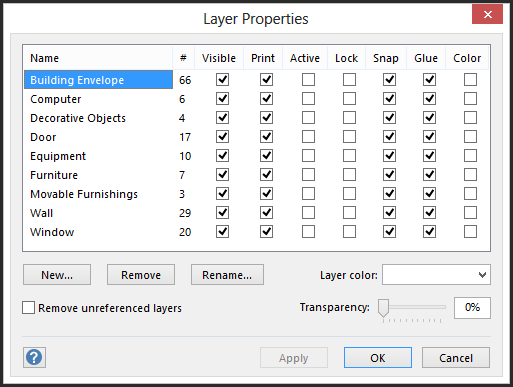
Go to Home>Layers and click Layer Properties.
-
Visible determines if a layer's shapes are visible on the page.
-
Print will decide if a layer is printed.
-
Active will make it so that all new shapes added to a page or added to that layer. If more than one layer is active, shapes will be added to all active layers.
-
Lock will prevent selecting or moving a layer.
-
Snap and Glue will either allow or disallow snapping or gluing shapes to shapes on a layer.
-
Color will override the objects' colors on the layer. If you don't choose this option, layer shapes appear as their original colors.
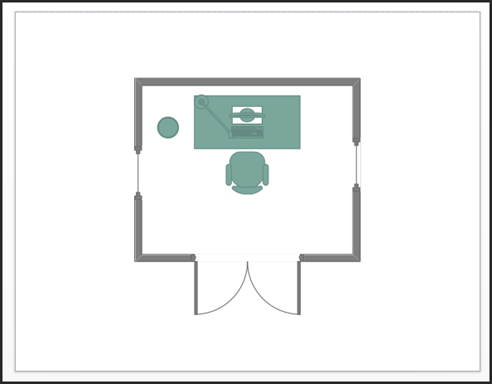
As an example to show you how layer properties work, uncheck the visible box for the Decorative Objects layer.
Click OK.
As you can see in the snapshot below, the plant is no longer visible.
You can also click on any object in your drawing and assign it to a certain layer by going to Home>Layers>Assign Layer.


