Perhaps you keep a list of things to do, either at home, or in the office. Outlook 2013 gives you a to-do list, except they call them tasks. In this article, we're going to learn everything about entering tasks and to-do items in Outlook. Just remember, tasks are not appointments, meetings, or events. They are simply things you have to do, such as organize a birthday party for a co-worker.
Create a Task
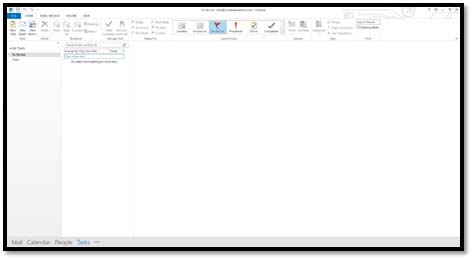
To create a task, start by going to the Tasks module by clicking on the Tasks label.
Click on the Home tab and look at the New group in the ribbon.
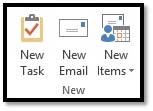
Click on New Task.
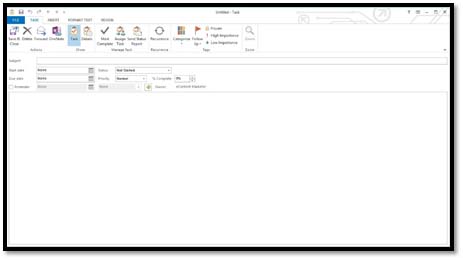
Enter a name for the task in the subject line. Enter a start date and a due date for this task if you need to. Select if you want Outlook to remind you to do this task. If you want to add more detail about this task, enter it in the body (or the white space) of this window.
Click on the Task tab. In the Actions group, click Save & Close to save this task.
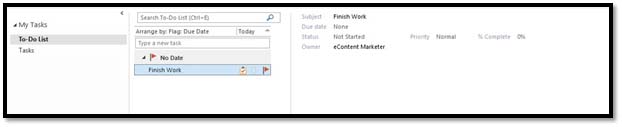
The task now appears in your To-Do List in the Folders pane and shows in the Information Viewer.
When a task is complete, you can right click on it and check Mark Complete from the menu.
The To-Do Bar
The To-Do bar is a region where you can go to manage everything you have to do. It shows your appointments, tasks, and lets you add things that you need to do. You have the Task List in the Task module where you can track projects and errands, but this allows you to quickly add things you need to do from any module. For example, if something comes in email that you need to add to your list of things that must be completed.
The To-Do bar is collapsed by default in Outlook 2013. To view it, you have to enable it.
Go to any module, such as Mail or People, then click the View tab.
Go to To-Do Bar in the Layout group.
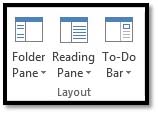
Select the items you want shown in the To-Do bar.
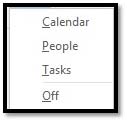
We're going to choose Calendar, People, and Tasks.
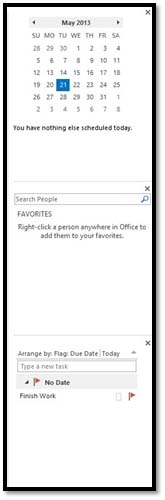
The To-Do bar appears on the right side of your Outlook Screen.
You can mark tasks as complete from the To-Do bar by right-clicking and selecting Mark Complete.
You can also double-click on any date in the calendar, and go to the Calendar to add the things you have to do.
In the People section of the To-Do bar, you can add favorites (or people you email frequently). We entered one of our contacts in the search box and added that contact to our favorites.
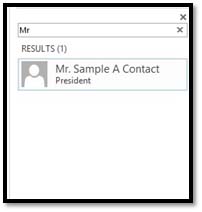
Now we can hover our mouse over the contact.
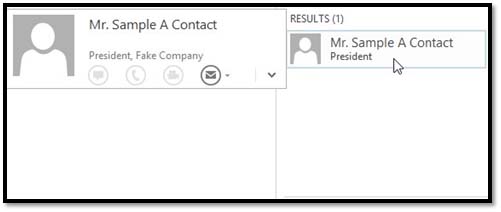
We can click the envelope icon to send him an email or click the downward arrow to view his contact information.
Create a Task From an Outlook Item
You can create a task from an email message, contact, calendar item, or a note.
To do this, you can do one of several things.
1. You can drag an email message to the task area of the To-Do Bar.
This is how you do it: Click on the email. Hold the left mouse button down and drag it to the To-Do Bar.
There is now a red line in the To-Do Bar. You can move this red line to put the task where you want it. When you get it there, let go of the mouse button and the red line will disappear. Your task will then be where you put it.
Create a Task From the To-Do Bar
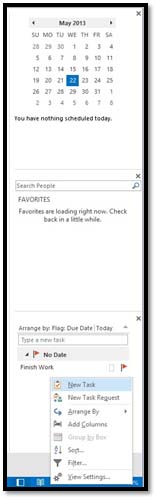
To create a task from the To-Do Bar, click your mouse in the To-Do Bar, then right-click. Select New Task.
Set Recurring Tasks
To set recurring tasks, create a new task as we've learned to do at the beginning of this article.
Click on the Task tab in the ribbon, then click Recurrence.
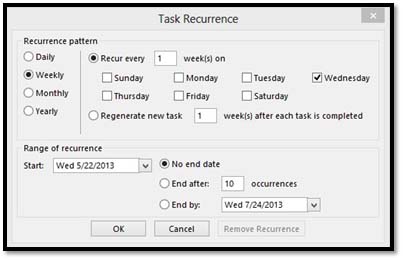
Set your recurrence pattern -- or how often you want the task to recur. You can choose daily, weekly, monthly, or yearly. For example, if you wanted to create a task to create a grocery list, you might set it for weekly and say you want it to occur every week, or every two weeks, on a Wednesday.
Next, choose the day you want the task to start appearing, and if it has an end time. Click OK when you're finished.
Assign Tasks to Others
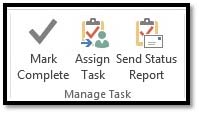
Assigning tasks to others is easy. In your new task window, click the Home tab, then Assign Task in the Manage Tasks group.
You'll then see this window:
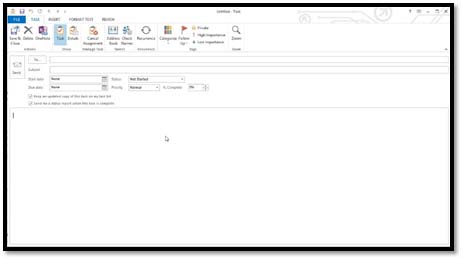
Select who you want to send the task to and fill out all other information, as you did with the new task window. You can also put a check mark in the boxes to get an updated copy of the task on your task list, and you can also request that a status report is sent to you when the task is complete.
Status Reports
Status reports let you know when tasks have been completed by those to whom you've assigned the tasks. But you can also keep other people in the loop and let them know what you've accomplished by sending status reports to them.
To send a status report for tasks, open the task. You can double-click on a task in the Information Viewer to open it.
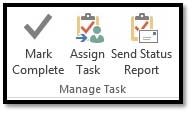
In the task window for which you want to send a status report, click on Send Status Report in the Manage Tasks group under the Task tab.
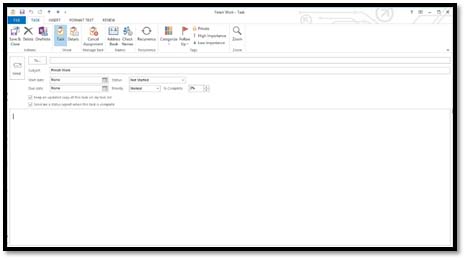
You'll then see this window:
In Outlook 2013, notes are just like the good, old-fashioned paper Post-It notes you may keep on your desk. You can jot down things that you need to remember to refer to later. You can use notes instead of using scratch paper to save time -- and a tree.
Creating and Editing Notes
You can create a note from any Outlook folder you want. To create one, go to the module labels, click on the three dots, and click on the Notes.
You'll then see this screen:
Click the Home tab, then in the New group, click New Note.
A window that looks a lot like a yellow sticky note will appear:
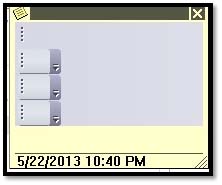
If you see a cursor, you can start typing your note. If you can't see the cursor, click in the yellow box.
Type your text.
To save and close the note, click the note icon at the top left of the note. It looks like this  :
:
Choose Save As to name your note or Save and Close.
We saved our note. As you can see, it now appears in the Notes folder.

You can also leave the note open while you're working and drag and drop it anywhere on your screen.
To edit a note, go to the Notes folder, then double-click on the note.
NOTE: Remember, to see all your folders, click the three dots after the module labels, then click Folders. This shows you all folders in Outlook 2013.
Forwarding Notes to Others
To forward a note to someone else, open the note, then click the Note icon at the top left.
Select Forward from the drop-down list.
A new email message will open up with the note as an attachment.
Save a Note to Your Desktop
Open the note, then click the Note icon at the top left of the screen.
Choose Save As. A window will open that will allow you to save where you want to save the note, as well as what you want to name it. You can then choose to save it to Desktop and give it a unique file name.
Printing Notes
You can also print your notes.
To do this, view the list of your notes, as we've done below.

Right-click on the note you want to print, and select Quick Print.
Sharing
Outlook 2013 makes it easy to share more than email with others. In this section, we're going to cover the various methods to share information using Outlook.
Sharing your Calendar with Others
Sometimes you need to share your calendar. Perhaps you have an assistant at work who helps to schedule some meetings for you. It's helpful if they can access your calendar so you don't get double-booked.
Outlook 2013 offers you two ways that you can share your calendar with others. You can share your calendar by email, or by using a Microsoft Server Exchange account.
Share by Email
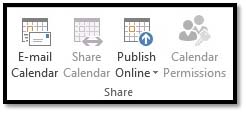
To send a calendar by email, go to the Calendar Module. Next, go to the Home tab, then click Email Calendar in the Share Group.
In the Calendar box (pictured below), select the calendar you want to send.

Also, select the date range that you want to share. When you're finished, click OK. Then, address your email and send. The calendar will be sent to the recipient as an attachment.
Share a Calendar Using Microsoft Exchange Server
To share a calendar using a Microsoft Exchange Server account, go to the Home tab. Click Share Calendar in the Share group.
A Sharing Invitation will appear. Type the person you want to share with in the To box. Just keep in mind you can share calendars using this method only with people who have Exchange accounts � and you must have one also.
Sharing Your Inbox and Other Folders
If you use Microsoft Exchange, you can also share your inbox folder and other Outlook 2013 folders with other people.
To do this, start by going to the folder you want to share.
Right-click on the folder in the Folders pane and select Properties from the drop-down menu.
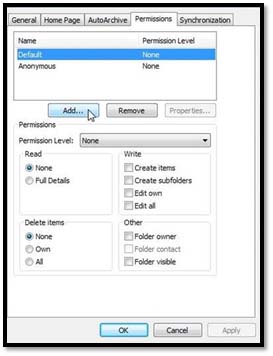
Now, select the Permissions tab and click Add.
Select the username.
Set permissions, then click OK.
Giving Delegate Permissions
Sharing Email, Calendar, Contacts, Etc.
Let's say that you're going to be out of the office or unable to check and answer email for a few days, and you want to give someone else permission to send emails, view appointments, and even set appointments for you � without having to use your computer and access your Outlook. If you use Microsoft Exchange, you can do that.
To add a delegate:
The first thing you have to decide is what kind of delegate this person will be. You have three choices.
- You can make them an Editor. An editor can make changes to your calendar. They will receive emails regarding meetings, and they can also create meetings. In addition, they can also accept and/or decline meeting requests for you.
- An author can create meetings, but cannot make any other changes.
- A reviewer can only look at your calendar. They cannot make changes.
The difference between just sharing your calendar, and assigning a delegate, is that when you share, the people you share with can only view your files. Whereas, depending on the permissions you grant, a delegate can make changes on your behalf.
To assign a delegate:
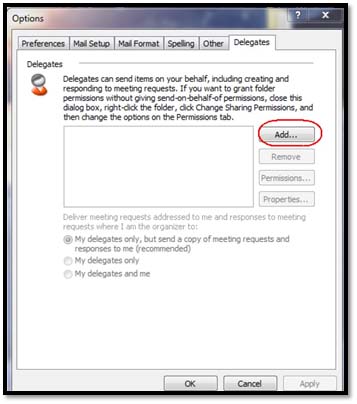
- Click on the File tab, then click on Account Settings.
- Click on Delegate Access, then click Add.
- Search for the LAST name of the person whom you want to make a delegate.
- Then, add the person using the Add button. Click OK.
- Now, go back to the File tab, click Info on the left, then Delegate Access under Account Settings again.
- Click Permissions.
- Select the permission level you want to assign for each category (email, calendar, etc., as shown in the snapshot below.)
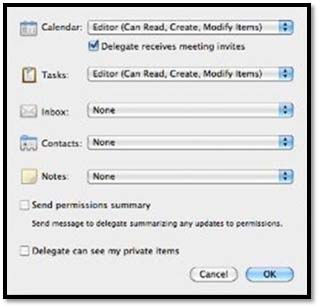
- Select if you want to email the delegate letting them know about these permissions. Also, choose if you want the delegate to see your private items. Then click OK.