How to Import Images into Organizer in Photoshop Elements 15
The Organizer is the Elements workspace where you will import and organize photos and images from your camera, computer, phone, and other devices. Over the course of the next few lessons, we are going to learn to use Organizer to import photos, then organize them by using tags, sorting them into albums, and more.
The Organizer Window
When you click on the Organizer from the Welcome Screen, you are taken to the Organizer window, as shown in the snapshot below.
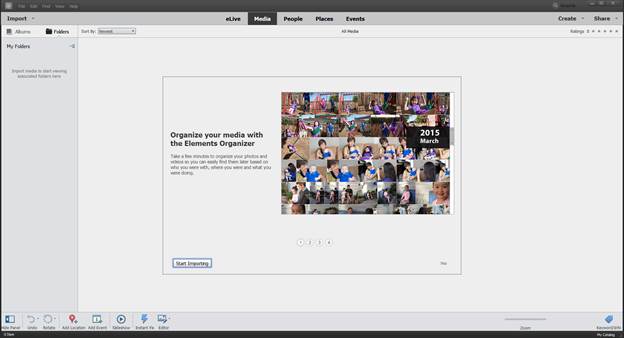
A dialogue box appears in the middle of the screen.
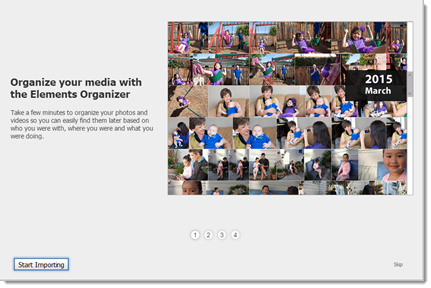
The dialogue box pictured above is displayed the first time you open Organizer. It gives you a way to quickly and easily import photos and images into the program. If you've used Elements in the past and are already familiar with how to import and organize photos in Elements, you can click the Start Importing button.
However, for those new to Elements or need reminded on how to import and organize photos, click "Skip" in the bottom right hand corner of the dialogue box.
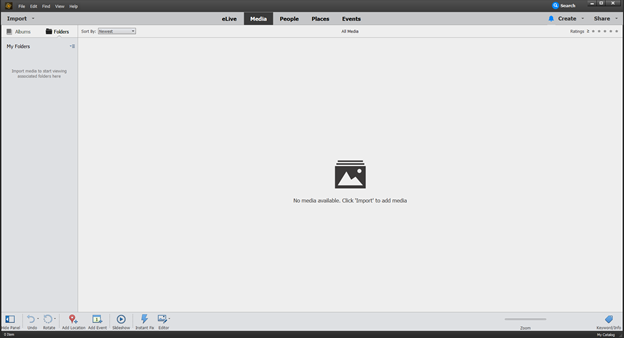
When you click Skip, you see the Organizer window again.
Importing Images from Your PC or Removeable Media
Importing images from your hard drive or removeable media, such as CDs or flash drives, is easy in Photoshop Elements. Simply click the Import button in the top left corner of the Organizer window.
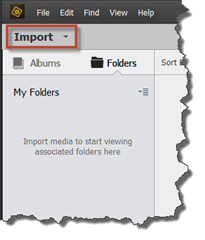
Select "From Files and Folders" from the dropdown menu.
NOTE: You can also go to File>Get Photos and Videos>From Files and Folders
You will then see the "Get Photos and Videos from Files and Folders" dialogue box.
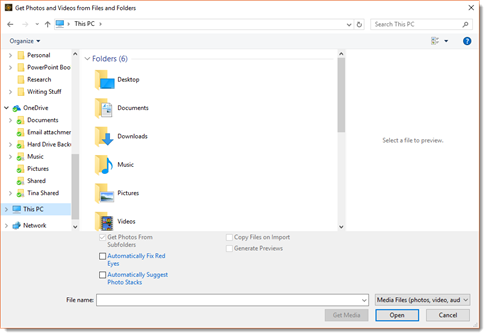
Select the folders or files that you want to import.
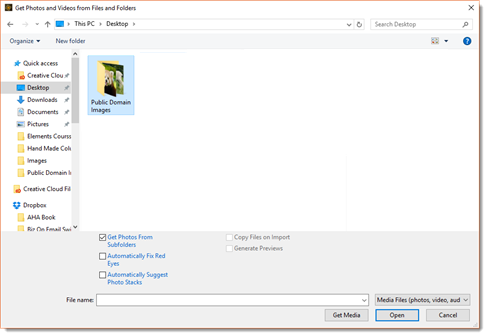
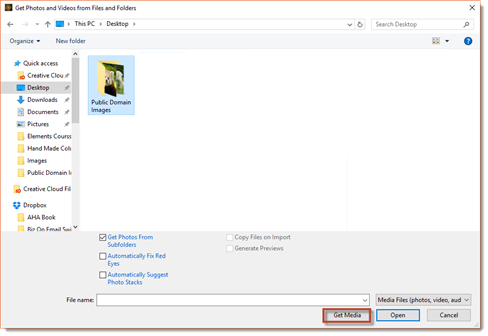
Once you've selected the folders or files, click the Get Media button.
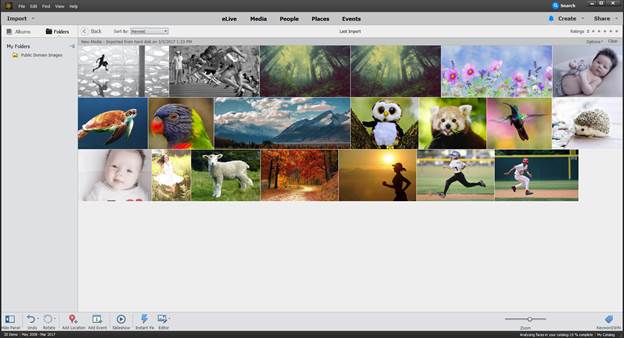
The files and folders are imported into Elements for you, as shown below.
Importing Images from a Camera
To import images from a camera, insert a media card or attach the camera to your computer using a USB port.
If the AutoPlay wizard appears or a dialogue box for iPhoto on the Mac, cancel these out. You want to use Elements to import the photos.
Next, click the Import button just as you did when importing photos from your computer. Select "Get Photos and Videos from Camera or Card Reader" from the dropdown menu.
The Elements Organizer - Photo Downloader opens, as shown below.
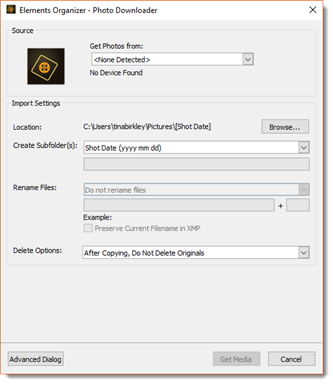
Select your media card from the "Get Photos From" dropdown list.
Next, click the Browse button and choose the location on your hard drive where you want to copy the photos currently on your camera.
NOTE: All photos and images imported into Photoshop Elements must be located on your hard drive. This means you must move images on other devices to the hard drive of your computer before importing them into Elements.
You can then import the photos and images into Elements by clicking the Get Media button in the Elements Organizer � Photo Downloader dialogue box.
Importing Scanned Images
You can also scan images using a scanner that's connected to your computer � and scan them directly into Elements Organizer.
To scan an image into Elements Organizer, click the Import button, then choose Scanner from the dropdown menu.
You will then see the "Get Photos from Scanner" dialogue box.
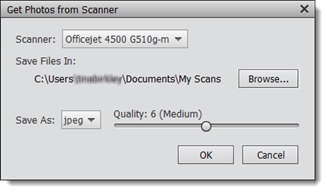
In the "Scanner" field of the dropdown list (shown above), select the scanner that you want to use.
Next, click the Browse button to select the location to store the scanned images.
Decide the file format you want to use in the "Save As" dropdown list. We've chosen JPEG.
You can also choose the quality of the scan. It's best to stick with a medium quality. Low quality produces a lower quality image. High quality produces a larger file size that takes longer to scan and import.
Click OK when you are finished.
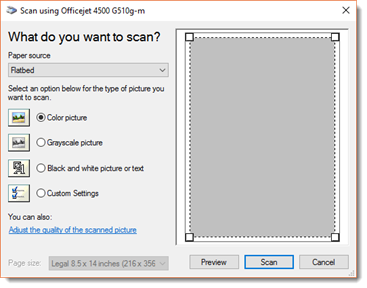
Choose your paper source, as well as the type of picture you want to scan, as shown in the snapshot above.
Click the Scan button when you are ready to start scanning.
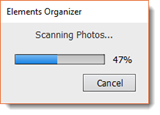
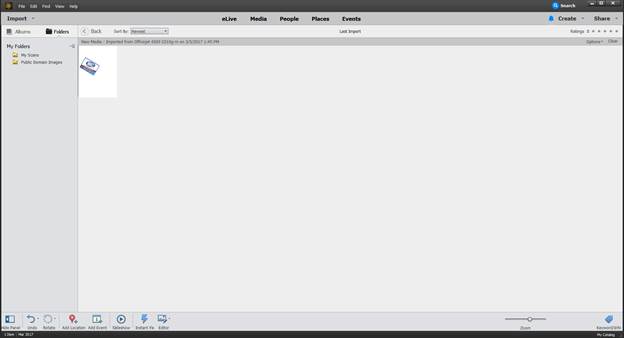
When the image is scanned into your computer, it will also appear in the Elements Organizer as a thumbnail.
Importing Images from Phones and Other Handheld Devices
All photos and images imported into Photoshop Elements must be located on your hard drive. This means you must move images on other devices to the hard drive of your computer before importing them into Elements. This includes images from cell phones and other handheld devices. You can copy images to your hard drive by USB or Bluetooth, as well as email them as attachments.
If you have an iPhone, iPod touch, or iPad you can use the Photo Downloader.
To do this:
1. Connect the device to your computer using a USB cable. The Photo Downloader will open at that time.
2. Click the Browse button in the Photo Downloader window. This opens the "Select Directory to Store Files" window. Choose a destination folder.
3. To identify where your photos are saved, click the Select Folder button.
4. Click the Get Media button to download the photos and images.
Finding Imported Images in the Organizer
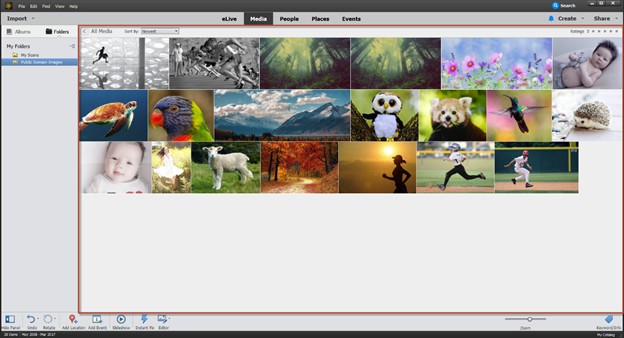
Whenever you import images and photos into Organizer, those images and photos appear as thumbnails in the center of the screen. This part of the screen is called the Media Browser.
In the snapshot below, we've outlined the Media Browser in red.
To the left of the Media Browser is the Import panel. The Import panel displays folders that contain the images you imported into Elements.
The Import panel is outlined in red below.
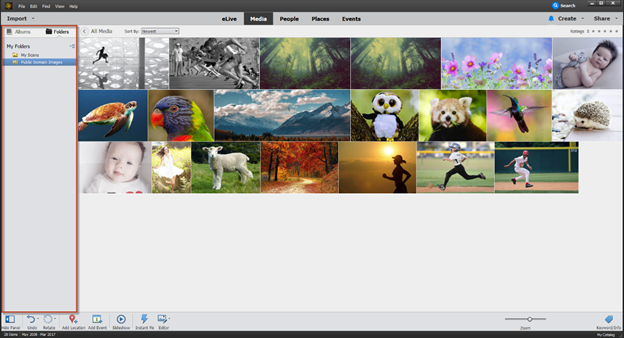
You can click on any folder in the Import panel to see the images and photos contained in the folder.
You can choose from two different views when using the Import panel.
-
List view. This view is shown by default (as in the previous snapshot). It displays folders in alphabetical order. It does not show subfolders.
-
Tree view. Tree view lets you see subfolders. To switch to Tree view, click the dropdown menu (outlined in red in the following snapshot), then select "View as Tree".
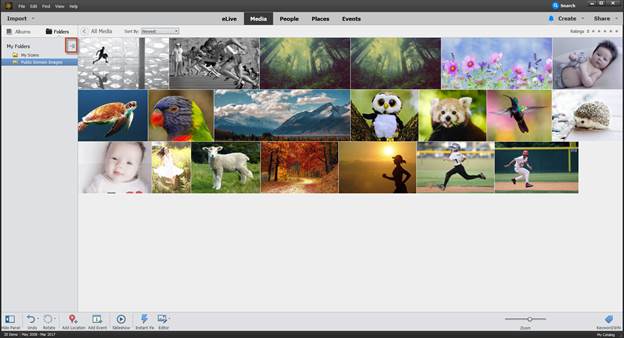
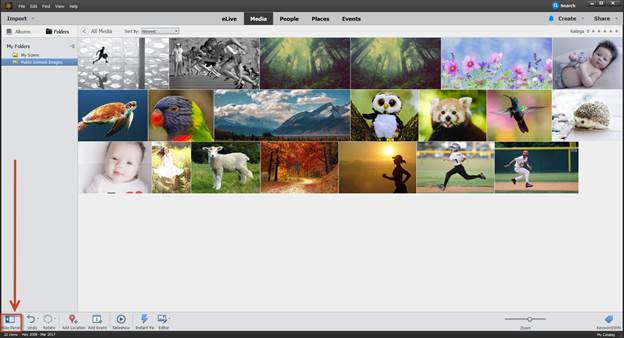
To hide the Import panel, click the Hide Panel button at the bottom of the panel.
Working with Thumbnails in the Media Browser
All images and photos are displayed as thumbnails in the Media Browser. A thumbnail is simply a smaller version of a photo or image.
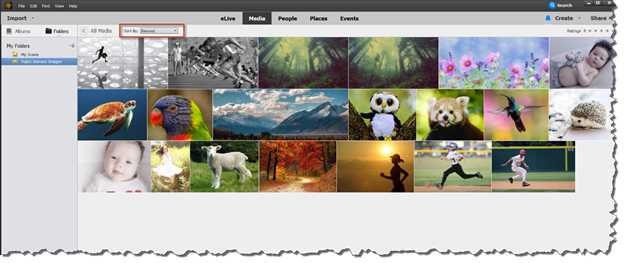
You can sort the thumbnails in the Media Browser by Newest, Oldest, Name, or Import Batch. To sort thumbnails, click the Sort dropdown list located above the thumbnails. We've outlined it in red below.
You can also view the thumbnails as full sized images.
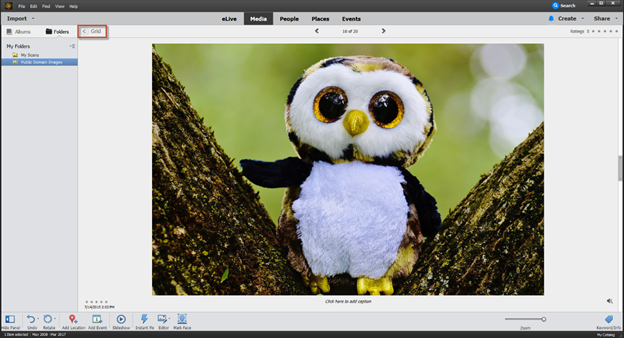
To view a thumbnail as a full-size image, double click the thumbnail of the image you want to view.
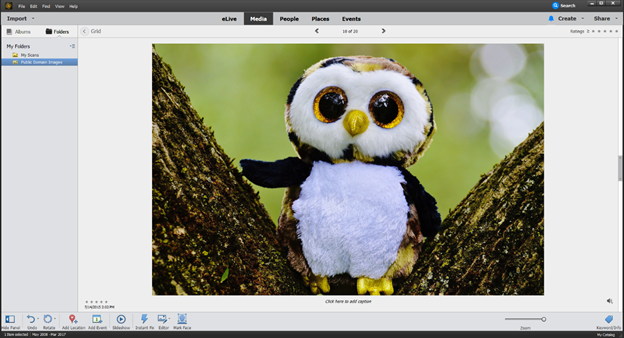
To go back to Thumbnail view, click the arrow to the left of "Grid", as outlined below in red.
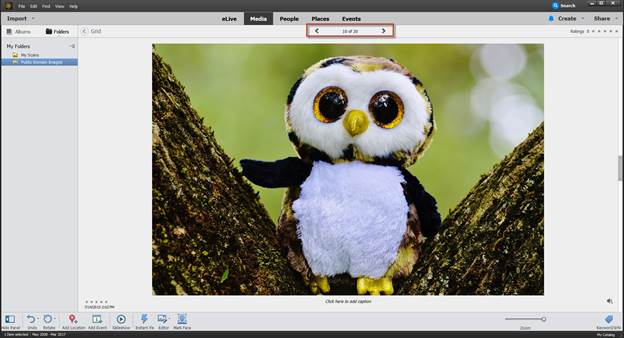
Click the forward or back arrows (outlined in red below) to view the next or previous image in the Media Browser.
If you want to view a picture in Full Screen, go to View on the Menu Bar. The Menu Bar is located at the top left of the Organizer window. It is pictured below.

Go to View in the Menu Bar, then select Full Screen.
When you view a photo in Full Screen View, this is what you'll see:
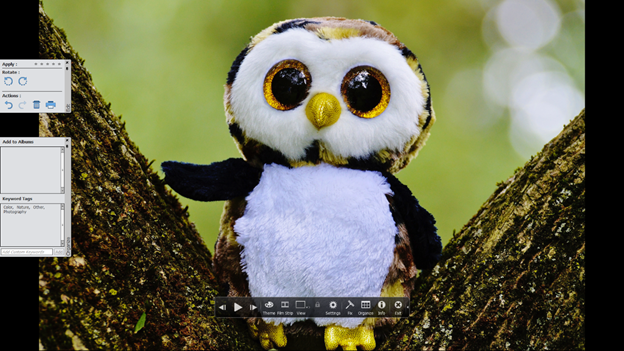
When you view an image in full screen, two panels appear on the left. These are the Edit and Organize panels.
1. The Edit panel provides tools that you can use to edit photos. These tools include sharpening images and removing red-eye. You can make edits to images without leaving full screen view.
2. The second panel is the Organize panel. The Organize panel allows you to add keyword tags to help organize your photos.
Press escape on your keyboard to leave full screen view.


