
Slide Transitions
A transition is simply how PowerPoint goes from one slide to the next in a slide show. It transitions from one slide to the next. That's just a normal transition. However, you can add special effects to transitions to make the transitions a little more exciting.
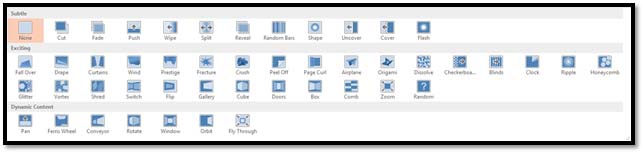
To add transitions, go to the Transitions tab on the Ribbon. It looks like this:

In the Transition to This Slide gallery, you can see all the different transitions you can apply. Take a minute to look at all of them. The names of the transitions tell you what kind of transition it is.
Also under the Transitions tab, you'll find controls that will let you preview the transition and set its timing. The timing will specify how fast the transition occurs and what triggers it, such as a mouse click, or automatically after a specified period of time. However, please remember that even if you don't pick a special effects transition, you can still set the transitions for slides using the controls in the Timing group.
To apply a slide transition, first select the slide for which you want to apply the transition. The transition will happen when you GO TO that slide, not when you leave that slide to go to the next.
Now, select the transition you want from the gallery.
Next, you can use the Effect Options drop-down menu to customize the transition effect you've chosen. The Effect Options button looks like this:

You can also use the Sound drop-down list to add a sound effect to the transition:
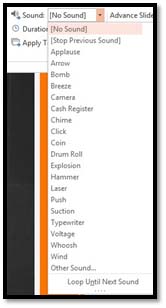
You can use the Duration drop-down menu to specify how fast the transition should be, then set the transition to happen On Mouse Click, or After (a specified period of time).
The Animations Tab
You can use animation to have PowerPoint display one bullet point at a time, or have a graphic or image drop onto the slide, do a somersault or cartwheel -- and the list goes on. To apply animations such as these, you use the Animations tab on the Ribbon. It looks like this:

You can look at the Animation gallery to see all the different animations you can add.
The Animations tab features controls for your animations. They are similar to the controls for transitions.
-
Preview allows you to preview your animation.
-
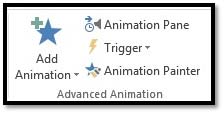
Advanced Animation allows you to create custom animations.
-
Timing allows you to set the timing of the animation.
-
Effect Options lets you further customize an animation.
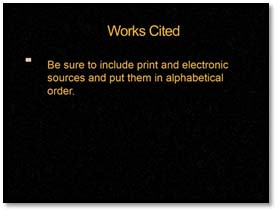
To apply an animation, first select the object you want to animate. We're going to animate the text box below. You can see the border around the text box that lets us know that we've selected it.

Next, we go to the Animation gallery and choose the animation.
We're going to choose Swivel.
Once the animation is added, you'll see a box with the number 1 in it. This lets us know a transition has been applied. If we add another transition, it will be labeled 2, and so on and so forth.
Take time to play with the different animations to learn what each one does. It's a lot of fun too.
Adding Custom Animation
Custom animation allows to create animation that's a little more complicated than what you'll find in the Animation gallery. You can apply custom animation to any object on a slide, including text. What's more, you can apply the animation by paragraph, or by letter, or word. Plus, you can specify if the animation happens on a click of a mouse, or if it happens automatically.
There are four basic types of custom animation you can create.
1. Entrance effects � or how an object enters a slide.
2. Emphasis effects � or how you draw attention to an object on a slide.
3. Exit effects � or how an object leaves a slide.
4. Motion path � or the path an object travels on a slide.
If a motion path begins off a slide and ends on a slide, it is similar to an entrance effect. If it begins on the slide and ends off the slide, then it's similar to an exit effect. If it begins and ends on a slide, then it's similar to an emphasis effect.
Start out by applying an animation from the Animation Gallery to an object on your slide.
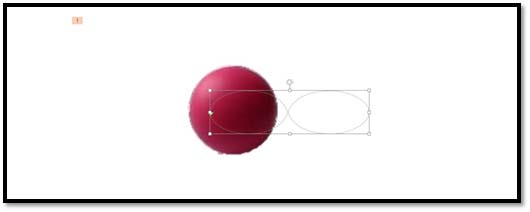
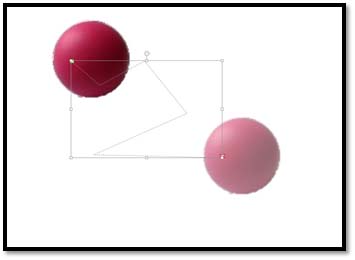
We applied a motion path animation to the ball on the slide below. Motion path allows for the most customization.
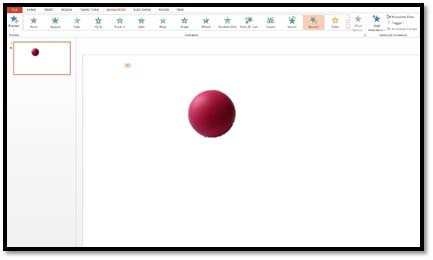
We chose loops. You can see the motion path on the slide.
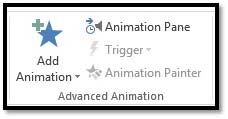
Now click the Animation Pane button under the Animations tab.
Now, go to the Custom Animation Pane on the right side of your screen.
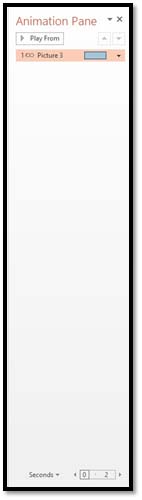
Click the downward arrow to the right of the animation.
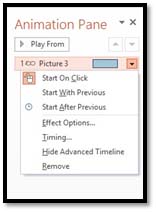
For any animation effect you choose, you can further customize it by clicking Effect Options from the drop-down menu in the Custom Animation Pane.
This brings up the Effect Options dialog box.
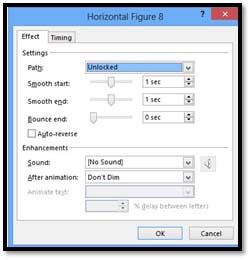
Set your options to further customize your animation.
You can also click the Timing tab to set timing.
You can choose to have the animation:
-
Start on Click � This starts the effect when you click your mouse.
-
Start with Previous � This starts the effect when the effect immediately above it starts.
-
Start after Previous � This starts the effect as soon as the effect before it is finished.
Click OK when you finish setting options.
Now, let's get back to talking about motion paths.
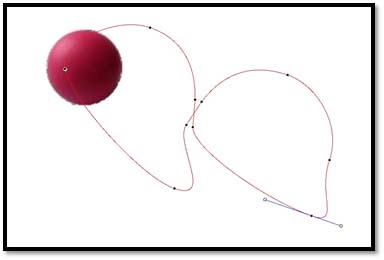
With a motion path animation, you can edit the motion path.
Click on the motion path to select it.
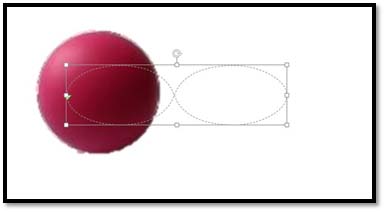
As you can see, the motion path becomes a non-text object. You can re-size it like you would any object, or use the circular arrow to rotate the path.
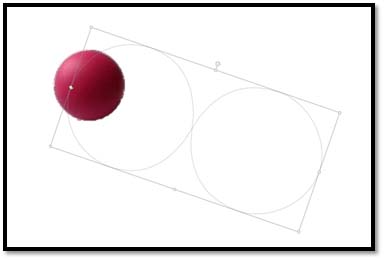
You can also right-click on the path object and choose Edit Points from the drop-down menu.
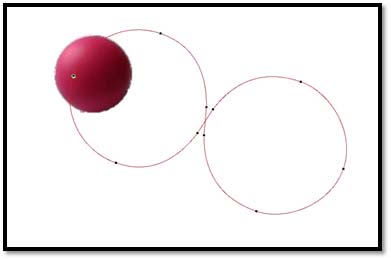
You can click and drag on any of the black points to change the shape of the motion path.
Custom Motion Paths
You can also create a custom motion path � or a motion path that you draw.
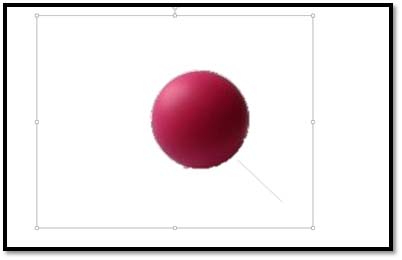
We've removed the animation from our rubber ball so we can create a custom motion path.
Go to the Animations gallery and choose Custom Paths.

Now you can draw your own path.
Your cursor becomes like a pen. Click to start drawing.
Click again to add a point so you can take the line in a different direction. Every time you click, you're adding a point. You'll be able to edit the path by those points.
Double click when you're finished adding the path.
Now, select the path. You can re-size or rotate the path, or you can right-click, as we did in the last section, to edit the points.
The Jiggling Text Effect
Just to make things a little fun, we're going to teach you a neat animation that allows you to make text in a slide jiggle.
We're going to use the text below that we typed in on a blank slide.

Start out by selecting the text object.
Now, go to the Zoom control at the bottom right of the screen. Zoom in to 400%.

400% is the highest percentage that you can zoom.
Next, go to the Animation tab and to the Animation gallery.
Select Custom Path.
You'll notice that the cursor changes to a little pencil.
Now draw a tight knit scribble pattern in the center of the text. All you have to do is wiggle the pencil cursor back and forth.
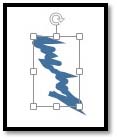
Double-click to quit drawing. All you need is one squiggly line drawn, like the image above. You don't need to draw this on every letter. Just once in the middle of the text as below:

Now you can preview your effect by going to Preview in the Animation pane.
The Animation Painter
The Animation Painter lets you copy the effect you've added to one object to another.
To use the Animation Painter, select the object you've applied an animation effect to, then go to the Animation tab on the Ribbon. Click the Animation Painter button.
Master Slides
Perhaps there's a picture that you want to add to every slide � or a piece of information, such as your name and phone number. You can do this easily by adding what you want to the slide Master, so it appears on every slide.
Masters control every little aspect of the slide's appearance, from background color, to objects and text that you want to appear on every slide. There are at least three Masters in every presentation you create:
-
The Slide Master, which controls the format of your slides
-
The Handout Master, which controls the look of your printed handouts
-
The Notes Master, which controls your printed speaker notes
That said, here's what you need to know about Masters:
-
They aren't optional. They're in every presentation, but you can override the formatting of objects in a Master slide to change the look of a particular slide.
-
You can have more than one slide Master in a presentation.
-
In PowerPoint 2013, title slides no longer have their own slide Master. You'll find that in PowerPoint 2013, the format of your title slides will be controlled by a Title Slide layout instead. This layout will belong to a Slide Master.
Modify the Slide Master
If you want to change the layout of your slides, you can use the Slide Master to do this.
Start out by going to the View tab, then click the Slide Master view in the Master Views group.
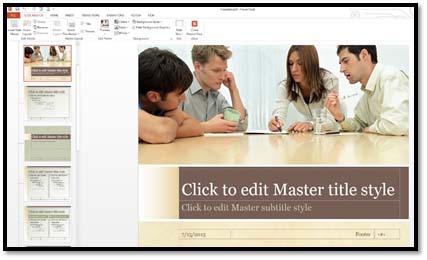
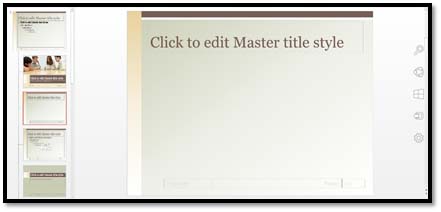
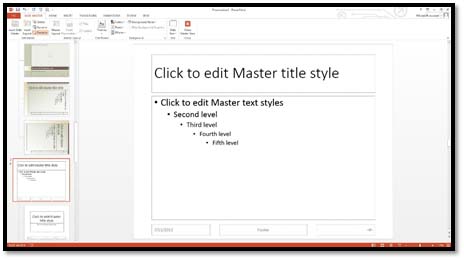
Above, you can see the Slide Master.
In the Slide Master, you can see placeholders for slide title and body text. It can also contain other elements and background colors. You can also see a thumbnail of each Slide Master and the layouts in the Slides pane on the left side of the screen.
Now you can make any formatting changes you want to make. For example, if you want all slide titles to be boldfaced, then select the title text, then the boldfaced button under the Home tab.
Now you can click the Normal View button at the bottom right of the window.
The Slide Master Tab
You may have noticed that a new tab appeared on the Ribbon when you went into Slide Master View. This is the Slide Master tab (as pictured below).

The rest of this article will take the time to show you how to use the controls that you find under this tab. Take a few minutes to look at the various commands. Some of these commands are similar to ones you've already used in creating a presentation, so learning to use them with your Slide Master will be easy.
Add Text and Elements That Appear on All Slides
To add text or other objects or elements that will appear on all slides in a presentation, follow these steps:
Go the Slide Master View.
To add text, add a text box to the Slide Master. (Go to the Insert tab, then click the Text Box button.)
Now type the text you want to appear on every slide. You can also format the text.
Go back to Normal View and your presentation. The text box and text now appears on every slide.
Please note that you can also add objects, such as images, clip art, video, or sound to the Slide Master.
Apply a Theme to a Master
You can also change or add a theme to your Master by going to the Edit Theme group under the Slide Master tab.
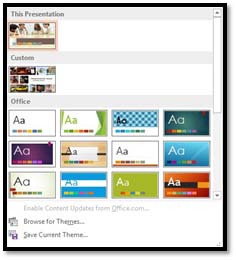
To change the theme, go to the Themes drop-down menu under the Slide Master tab.
Add a New Layout
You can also change the layout of your Slide Masters. To do this, make sure you're in Slide Master View, then click the Insert Layout button under the Slide Master tab.
You'll see a new, blank layout inserted in the Slide Master.
Now go to the Insert Placeholder drop-down menu on the Slide Master tab. Insert placeholders that you want in the new layout.

You can take time to get the layout exactly how you want it. When you're finished, just return to Normal View.
Adjust the Handout Master
The handout is what you can give to people viewing your presentation. You can also use it yourself as you present it.
To view the Handout Master, click the Views tab (in Normal View), then click Handout Master.
Below you'll see the Handout Master. You'll also notice the Handout Master tab appears on the Ribbon.
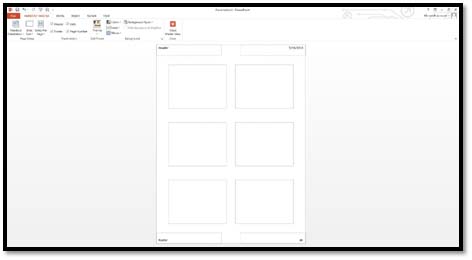
The Handout Master shows you the arrangement of the handout for printed slides. It also shows the arrangement for printed outlines. You can change the handout layout by going to the Slides-Per-Page command under the Handout Master tab.
Adjust the Notes Master
You can also adjust the Notes Master by going to Normal View, then the View tab, followed by Notes Master.
Below you can see a snapshot of the Notes Master.
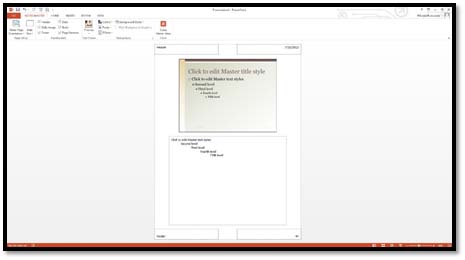
When you print, the notes pages have the formatting used in the Notes Master.
If you want to change the Notes Master, you'll use the tools and commands in the Notes Master tab that appears when you open the Notes Master.
Please note that the Notes Master contains two placeholders: one for your slide, and one for your text.
You can move or re-size either of these objects. You can also re-format the text in the placeholder for notes.
Overriding Master Text Styles
You can easily override text styles or formatting that is established in the Masters by simply working in Normal View and making changes to individual slides. For example, if you change the title font on slide #9 while working in Normal View, it isn't going to affect your Master. It's only going to affect slide #9.
Hide Background Objects
Your Slide Masters will allow you to hide objects that appear in every slide. However, you may have an object that appears on every slide that you want to hide just on certain slides. To do this:
-
Display the slide you want to show with a plain background.
� Go to the Design tab, then put a check beside Hide Background Graphics.
-
This will hide all background objects, color, or effects.
If you want to hide some background objects, but not all of them, here's what to do:
-
Hide the background objects.
-
Next, go to the Slide Master. While holding down the Shift key, click each background object that you want to appear.
-
Copy the objects to the Clipboard.
-
Go back to Normal View.
-
Paste the objects from the Clipboard.
-
Go back to the Design tab and click Send to Back if the objects you pasted are on top of other objects.
Adding Headers and Footers
Headers and Footers allow you a way to put text you want on every slide � at either the top (header) or bottom (footer) of each slide, handout, or notes page. You can add the time, date, slide number/page number, or the title of your presentation.
How to Add a Date, Number, or Footer to Slides
Go to the Insert tab. Click the Header and Footer button.
You'll now see this dialog box:
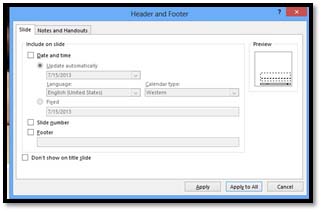
To show the date, put a check in the Date and Time box, then select the date format you want to use from the drop-down menu.
If you want to show slide numbers, check the Slide Number box.
If you want to add a footer, check the box, then type in the text that you want to appear in the footer, such as the name of the presentation.
If you don't want the header and footer shown on the title slide, check the box.
Now click Apply, or Apply to All, to apply the footer information you've specified in this dialog box to all slides.
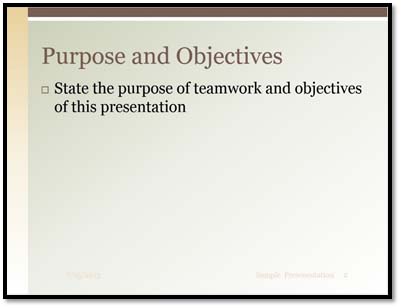
As you can see above, we've added the date, footer text, and slide number to the slide.
Add a Header or Footer to Notes and Handout Pages
To add a header or footer to notes or handout pages, summon the dialog box shown in the last section.This time, click on the Notes and Handouts tab.
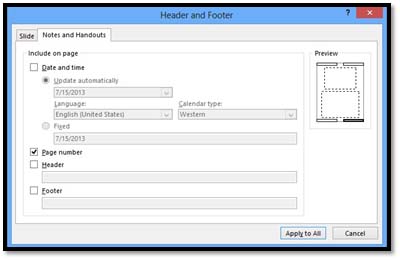
Specify the information you want to appear in the header and footer, then click Apply to All.
Create a New Slide Master
You can create more than one Slide Master, then decide which Master you want to use on a slide.
To create a new Master:
Go to Slide Master View.
Under the Slide Master tab, click the Insert Slide Master button.
As shown above, you'll see a new Slide Master inserted.
Now you can create your new Slide Master.
When you're finished, return to Normal View.
Apply a New Slide Master
To apply a new Slide Master, first select the slide or slides that you to apply a different Slide Master to.
Go to the Home tab, then click the Layout button.
You'll be able to see all the layouts for all Slide Masters in your presentation.
Select the one that you want to apply.
Recover a Lost Placeholder
If you've deleted a layout placeholder that you want back, you can easily recover it.
Here's how:
Go to Slide Master View.
Next, go to the Master that has the missing placeholder.
Now click the Master Layout button under the Slide Master tab.
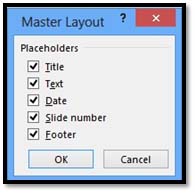
Choose the placeholders that you want to recover, then click OK.


