
Clean Up Mailbox
Outlook 2013 also gives you options to clean up your mailbox to get rid of deleted emails and maximize the space in your Outlook program.
That said -- to the File tab.
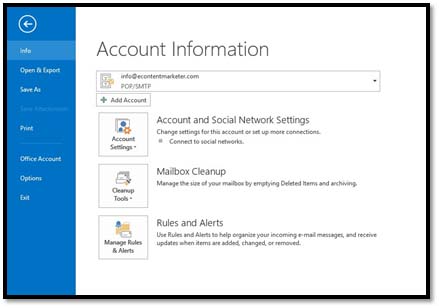
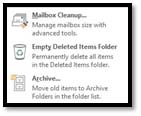
Click the Cleanup Tools button.
You can then select if you want to manage your mailbox size, empty the Deleted Items folder, or archive old items to Archive Folders in the folders list.
Select Mailbox Cleanup.
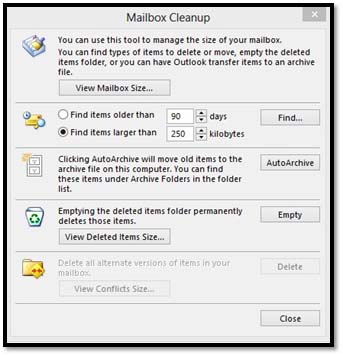
You can use the window to find old items you want to delete, large items you want to delete, archive old items, or empty the Deleted Items Folder. When you're finished, click Close.
Auto Archive
If you have a lot of messages stored in folders, it can slow Outlook down when opening the program. Plus, they can get hard to manage no matter how organized you have them.
For that reason, Outlook offers a feature called Auto Archive to archive messages so you still have them, but they're not front and center, bogging the program (and you) down.
Outlook 2013 does NOT archive your emails automatically. You have to turn this feature on yourself.
You saw Auto Archive in the last section when we cleaned up our mailbox. Now, let's set options for it and see how it works.
First, if you want to turn on this feature and see how it's set to archive your messages, click the File tab, then click Options on the left.
Click Advanced on the left.
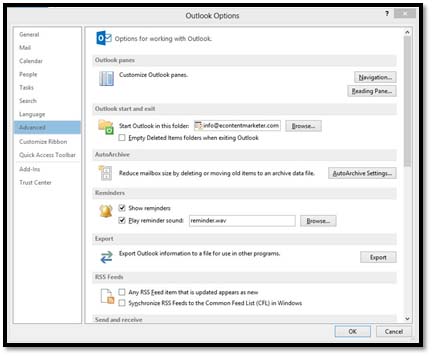
Go to the Auto Archive section. Click the Auto Archive Settings button.
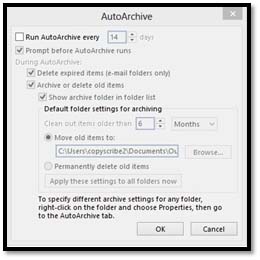
In this dialog box, you can see if the Auto Archive feature is on, how often items will be archived, how old the items have to be in order to be archived, and the name and location of archived files.
Now, you can turn it on without changing the settings � or you can change the settings.
Once you've done that, click the Apply These Settings To All Folders Now. All folders, except the Contacts folder, will be archived.
Click OK.
Auto Archive for Individual Folders
If you want to archive individual folders, open the Mail module, then go to the Folder pane and click on Inbox.
Now, go to the Folders module by clicking Folders:
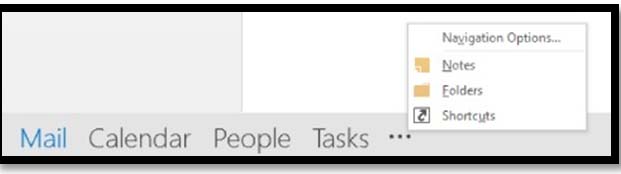
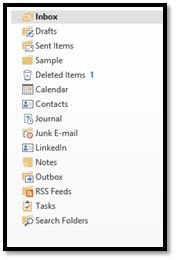
You'll now see your Folders pane again:
Now click AutoArchive Settings in the Properties group in the ribbon under the Folder tab:

This is what you'll see:
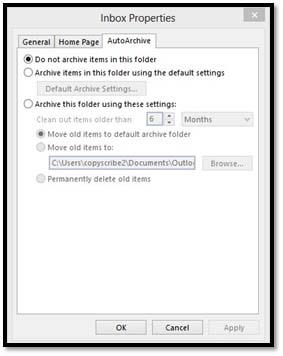
Put a check mark by:

Select your archive settings, then click Apply.
Using Out of Office Assistant
The Out of Office Assistant gives you a way to arrange for Outlook to automatically respond to emails when you are away, or "out of the office."
What's more, the assistant can be set to respond to emails only during certain periods of the day (like at lunchtime) and can send a separate message to the people inside your organization or outside of it.
Let's take a look at how it works.
In order to activate the Out of Office Assistant, go to the File tab. The Info tab on the left should already be selected, but if not, go ahead and click on it. Now select the Automatic Replies (out of office) button.
The Out of Office Assistant dialog box will open. To enable the feature, simply select Send Automatic Replies. You can also set a time and date range from here as well. To do so, simply make sure the "Only send during this time range" check box is selected, and then set the start and end times.
If you'd like to create one message for the people inside your organization or company and another message for those outside your organization, you can do so on this screen as well. To do so, simply select the appropriate tab, then enter the message you'd like to send.
Don't forget to click the Apply button in order to activate your changes.
Quota Thermometer
The Quota Thermometer shows you how much free space is left in your mailbox. This feature is turned off by default, so let's turn it on to see how it works.
Right-click anywhere on the bottom bar in your Outlook window.
You can see where our mouse pointer is in the snapshot below to see the bar we're talking about. When you right-click, you'll see this menu:
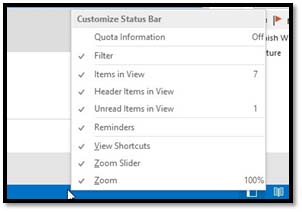
Click on Quota Information to turn it on.
NOTE: If you don't have a space or size limitation on your mailbox, it won't turn on, because it's not necessary.
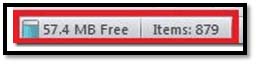
You'll then see how much space you have. It will be displayed on the bottom left.
Understanding PST Files
PST files are simply data files in Outlook 2013. Whenever you create a file in Outlook to archive items, this is a PST file. It stands for Personal Storage Table.
Here's an example. Let's say you get a lot of emails from Joe Smith, and you want to save them to your Outlook, instead of keeping them on the server. You create a data file called Joe Smith to keep those emails in. The folder is a PST file. It is a data file.That said, the best way to show you what a PST is so that you understand it is to create one.
To create a PST file:
Go to the Mail module. Click on the Home Tab and select New Items from the ribbon.
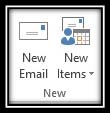
Select More Items from the drop-down menu, then Outlook Date File.
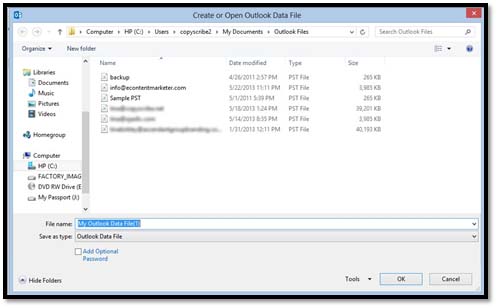
Above, you can see all the PST files we already have. Each of our email accounts has its own data file.
You can create another.
Enter a name for your PST and click OK.
The PST is now created and appears in the Folders Pane. It looks just like one of your email accounts.
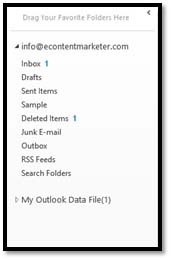
Now, to create storage folders, right click on Sample PST (or your PST name) and select New Folder.
Finding Archived PST Items
Now, let's say you want to find an item that you've stored in a PST. To do this, click on the File tab, then click Open on the left.
Select Open Outlook Date File.
It's our goal to show you everything you can do in Outlook 2013, and show you how to use all the features.That said we're going to delve into the things you can do in Outlook 2013 aside from email. With that, you will learn how to use all the features.
This section is going to be all about your address books. Let's dive right in.
About Address Books
If you've used other email programs before, such as Windows Live Mail, you already know you can have several address books. You can organize them by different types of contacts, such as work, family, friends, etc.
Outlook uses several different address books, itself, but they are already created for you. They are a part of Microsoft Exchange server. As with other email programs, these address books are several separate lists of names and email addresses.
If you click on the People label and go to the People module, you'll then see the Outlook Contact lists (pictured below).
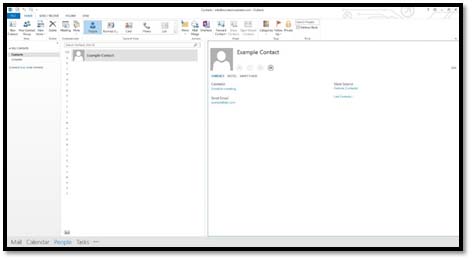
This contains all kinds of personal information for your contacts. Many mistake it for the address book, but it's not.
An address book is what you see when you click on the To button in a new message. (Pictured below.)
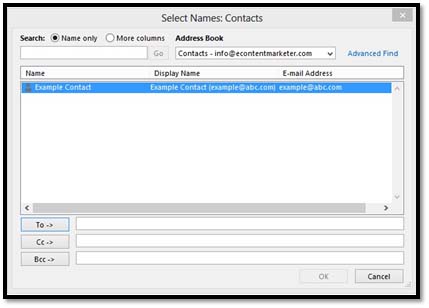
As you can see in the Address Book section of the window above, this is our Contacts Address Book. This address book contains all of your contacts.
Listed below are the different address books that you have in Outlook.
The Global Address List
The Global Address List is for corporate networks and contains the email addresses of everyone in your company. This is created by your system administrator so you don't have to search for an email address of someone within your company.
The Contacts Address Book
The Contacts Address Book is more like your personal address book. It is simply a list of email addresses from your Contacts list.
Additional Address Books
These are created if you create additional folders for Outlook contacts. These folders become separate Address Books. A system administrator can also create Address Books.
About Contacts
Contacts are simply the names, email addresses, etc. of people you email, and the people that email you. Your contacts appear in your address books.
Adding New Contacts
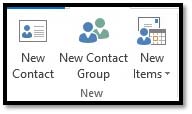
Adding contacts in Outlook 2013 is unbelievably easy. Simply click the People module to open it, then click New Contact in the ribbon in the New group.
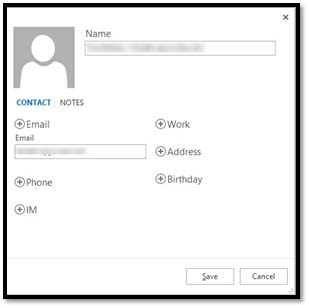
A window will open up that allows you to add as much, or as little, information about the contact as you wish.
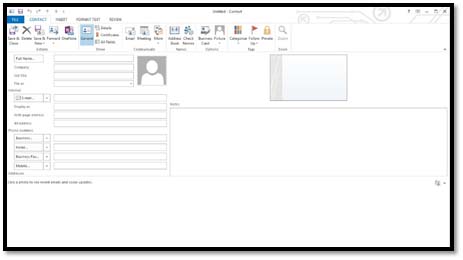
Before you enter any information about your contact, click the Full Name button, as shown above. This dialog box will appear:
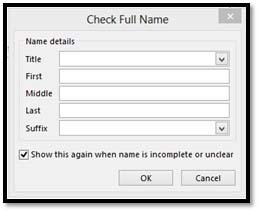
- Click the downward arrow to select a title, such as Mr, Mrs, etc.
- Click the "First" text box to type the contact's first name.
- Type a middle name or initial in "Middle," and their last name in "Last."
- If there's a suffix such as Jr., click the downward arrow to select it. You can also type it in the box.
Click the OK button.
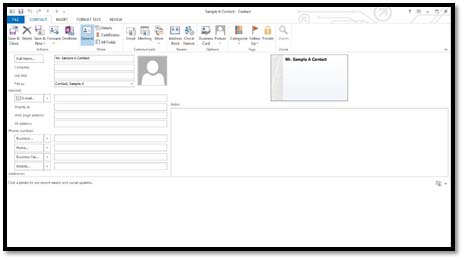
Now you're back to the New Contact Form (shown above). You can enter as much, or as little, information as you like. You don't have to fill in every box. If there's a drop-down list beside a text box, you can choose an option from the drop-down list, or type in your own. It is not mandatory that you select an item from the drop-down list as it is with other programs.
NOTE: As you can see on the right side of the above window, Outlook creates a contact card that looks like a business card. As you add information, it will appear on this card.
Here are some tips for adding information about your contacts:
- You can also select how the contact is filed. If you don't want to file it by someone's last name, for example, you can click in the File As box and state your filing preference.
- Click in the Email text box and type the contact's email address. You can also add a website address if you want to link to that from the Address Card.
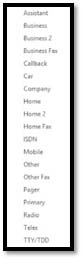
- Also, you can enter a business phone number and home phone in the Phone Numbers section. However, you do not have to add Business, Home, etc. You can click the downward arrow beside Business, Phone, etc., and select from 19 different ways to classify phone numbers. See the snapshot below to see what we mean.
In the Address section, you can do the same thing and choose from Business, Home, or Other. If this is the mailing address where you send mail to, make sure the This is the Mailing Address box is checked.
You can simply click in the Notes section and add anything you want regarding the contact.
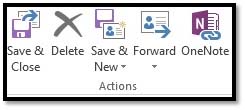
When you're finished, click Save & Close on the left side of the ribbon.
Viewing Contacts
Once you've entered your contacts, you have several ways in which you can view them. The way you view them will be determined by how you want the information arranged. These are called views. Outlook 2013 comes with five to 12 predefined views in each different module. Plus, you can easily alter any view. You can then name and save the altered view to use again in the future.
Here's how you change the view:
- Click the People label to go to the People module.
- Pick the view you want by clicking the Change View button in the ribbon under the View tab. (shown below):
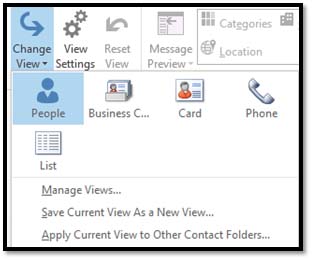
You can choose from these views:
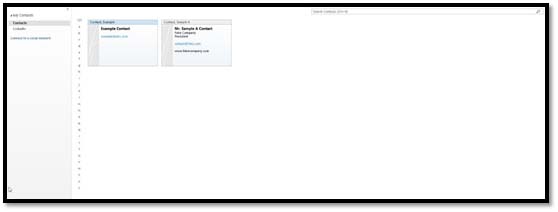
Business Card. Your contacts appear on virtual business cards, as shown below. Once again, you can click on a letter of the alphabet to view contacts.
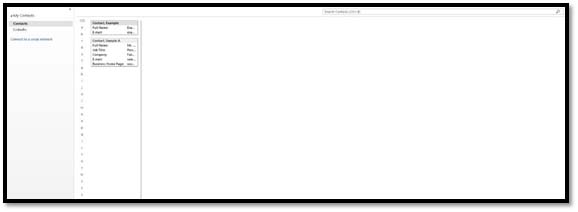
Card. Card allows you to view your contacts as small cards.
Phone . Phone view displays your contacts so you can see their phone numbers.

List . List view will display your contacts in a list.
Modifying Contact Views
You can also specify how your contacts' information appears in different views. Click the View Settings button in the Current View group under the Home tab.

You can now alter the columns, how your contacts are sorted in that view, the fonts, etc. Click OK when you're finished.
Create a New Contacts View
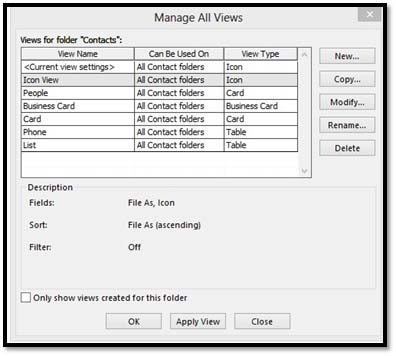
To add a new view, click the Change Views button on the ribbon again, then select Manage Views from the drop-down menu.

Click New.

Now, create a name for the view, then select the type of view.
We're going to select Icons, then leave the default setting for the folders this view can be applied to.
Click OK.
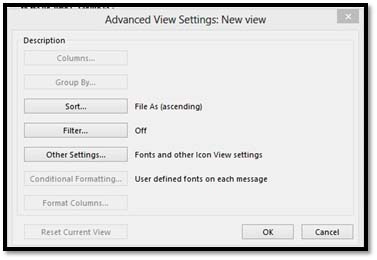
Next, specify the settings just like you did when you altered a view. Click OK when you're finished.
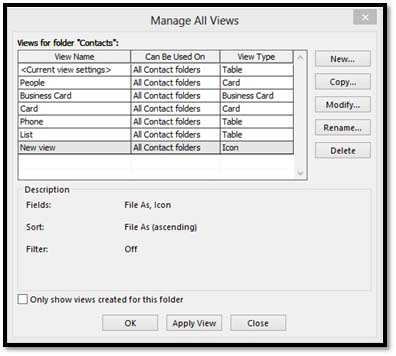
Our new view is now shown in the list:
We want to give our new view a name, so we can differentiate it from other views we may create; so we click the Rename button on the right.
We've named it Icon View.
Click the OK button.
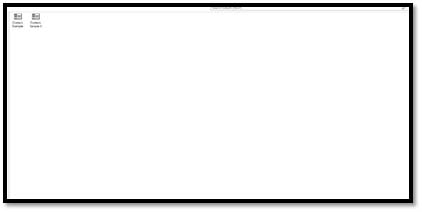
We can now see our new view in the list below with its new name:
Click OK again, or click Apply View to apply it.
We're going to click OK.
Now when we click the Change Views button on the ribbon, we see our new view:
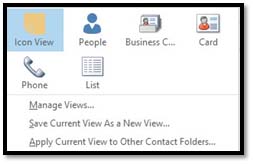
If we click on it, we can apply our view to contacts as we did the other default views.
Outlook Contact Options
Contact options allow you to specify how names are entered into your Contact Lists, such as Last, Middle, First -- or First, Middle, Last -- as well as how they are filed. You can specify preferences to help customize Outlook to better suit your needs.
To set your options for Outlook 2013, click on the File tab.
Now click Options on the left.
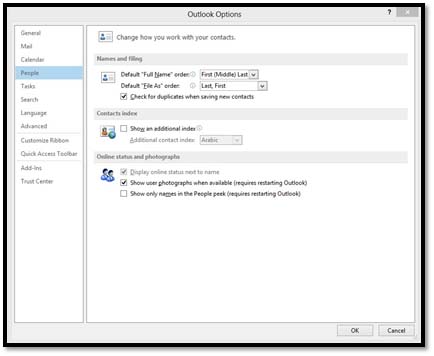
Click People on the left side, as shown above.
All the options you can select are simple and self-explanatory. Set your options, then click OK.
Contact Folders
When you open the People module, your contact folders are located on the left side of the screen, in the Folder Pane, as shown below.
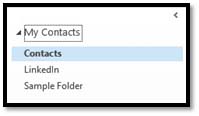
As you can see, we have a contact group named "My Contacts."
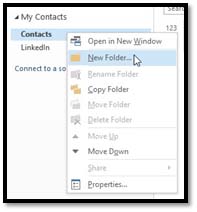
The "My Contacts" group has two folders: Contacts and LinkedIn.
Now, right-click on any folder and select New Folder from the menu, as shown below.
Next, name the new folder, what the folder will contain, and decide where you want to place it. We're placing it with our Contacts folder.
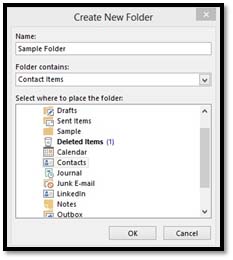
Click OK.
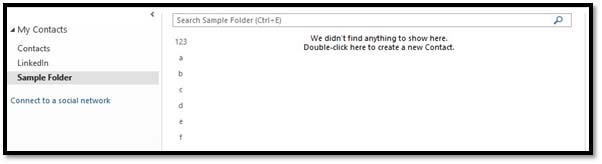
The new folder then appears in the Folder pane:
If you click on the folder, you can start adding contacts to it:
Creating an Address Book
A new address book is created each time you create a new contacts folder. Using our previous snapshot as an example, when we created Sample Folder, it became a new address book that's listed whenever we create an email and click on the "To" button.
Adding Contacts from Email
Let's say that you receive an email from someone, and you want to add that person to contacts. Here's how to do it.
Click on the email in the Information Viewer, so it's displayed in the Reading Pane.
Now, hover your mouse over the sender's name and/or email address (Step 1 as shown below). We've blurred out the name for privacy reasons.
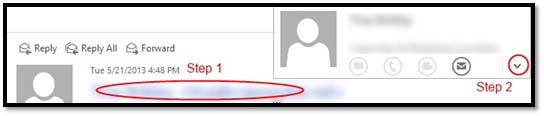
Now, click the downward arrow (Step 2).
This is what you'll see:
Click Add on the right side.
Add any information you want, then click Save.
Linking Contacts
Linking contacts means you can create a link between different contacts so their information will all appear on the same card. For example, if you have a LinkedIn contact in your LinkedIn folder and also a contact created for the same person in your Contacts folder, you can link these two together so all information shows on their contact card.
If that's confusing, don't worry. We're going to show you how to do it.
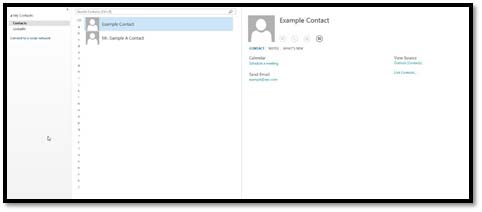
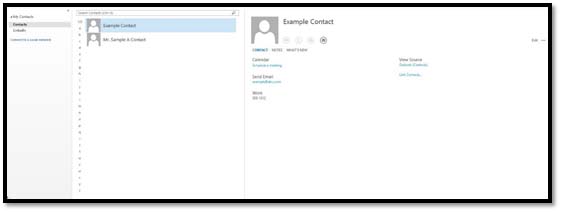
First, go to the People module and select a contact folder, then a contact within that folder, as we've done below.
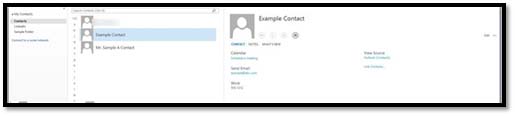
In the Reading pane, click on Link Contacts.
You'll see this window:
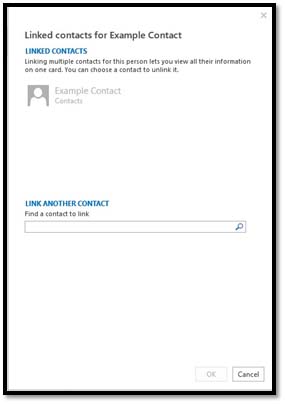
In the search box under Link Another Contact, select the contact you want to link it to.
Click OK.
Contact Groups
Contact groups are simply groups of contact folders. To create a contact group, right-click on a contact group. We've clicked on My Contacts.
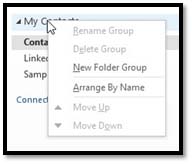
Select New Folder Group.
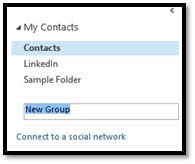
Type in a name for the new group.
Creating and Attaching Electronic Business Cards for Contacts
You can also create and use electronic business cards in Outlook 2013. You can add this business card to your emails. Twenty years ago, you might have stuck a business card in an envelope with a letter you were sending to someone. Now you can do the same thing with email.
To get started doing this, click to go to the People module.
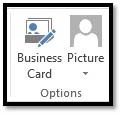
You'll now see your contacts on the screen. You can create a business card for any of your contacts by clicking on the contact to open it, then clicking the Contact tab, then Business Card.
However, for this lesson, let's create a business card for a new contact. This may be you.
Click New Contact under the Home tab of the People module.
Enter all the information you want to appear on the business card. As you type it in, it will appear at the top right as it will look on your card.
Quick Contacts
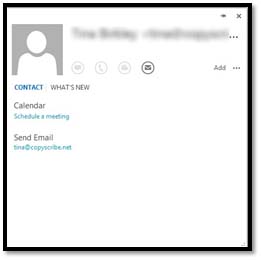
Quick Contacts is the menu that will appear whenever you hover your cursor over the email address of a contact in the Reading Pane. Quick Contacts looks like this:
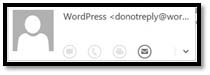
From this box, you can send the person a message, call them, or create an email. You can hit the downward arrow to schedule a meeting. You can even add them to contacts if they're not already one.
If you want to change the background or further customize it, click Business Card in the ribbon.
You can then customize the information on the card and format it, too.
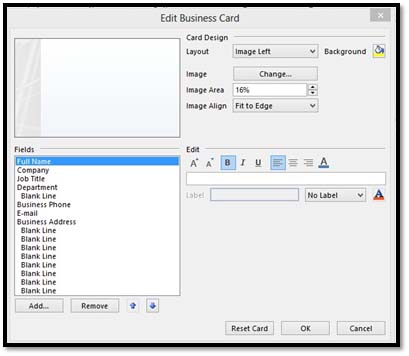
Click OK.
Click Save & Close to save the contact when you're finished.
To attach a business card to a message, go to the Insert tab in the email window (the email message window). Go to Attach Item, then select Business Card from the drop-down menu.
Select the business card you want and click OK. The card will now appear in the email.


