Transitions are what you use to switch from video clip to video clip. However, the best thing about clips is that they are extremely easy to add and use.
In this article, we are going to learn:
-
About transitions
-
How and when to add transitions
-
How to set a default transition
-
How to add a video transition
-
About deleting, replacing, and changing the duration of transitions
-
How to customize transitions
-
How to add the default transition to multiple clip
-
How to add a fade-in to the beginning of a video
-
How to add a fade-out to the end of a video
-
How to add audio transitions
NOTE : Transitions should be added after your project is nearly complete. The reason for this is that they affect trimming and motion-related effects.
About Transitions
You will find transitions in the Effects panel. There are transitions for both audio and video.
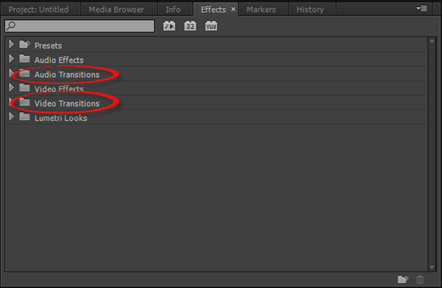
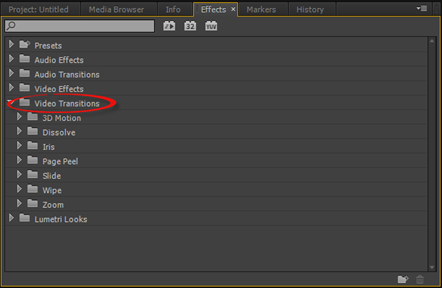
You can click on the triangle to the left of Video or Audio transitions to see the available transitions. We have clicked in the Video Transitions.
Things to Know about Transitions
Before we work more with transitions, there are a few things you need to know.
1. A cut is a transition without a transition effect and occurs when two clips abut each other on the Timeline.
2. Whenever you apply a transition effect, Premiere Pro uses frames from the two clips to create it.
3. Transitions should be used for major scene changes. Do not overuse them.
4. The mood of the project should be taken into account when adding a transition. Use a transition that matches the mood.
Setting a Default Video or Audio Transition
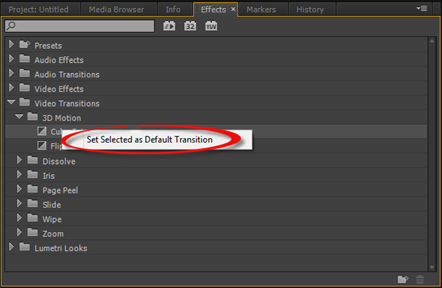
To set the default audio or video transition, go to the Effects panel.
Click on the transition that you want to make the default transition. Choose a video transition for video and an audio transition for audio.
Right click on the transition and select Set Selected as Default Transition.
Adding a Video Transition
To add a transition, drag a transition from the Effects panel and drop it at the intersection between two clips.
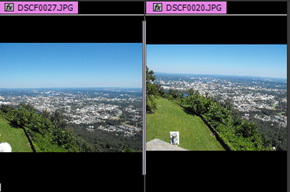
You can see the transition between the two clips in the snapshot above.
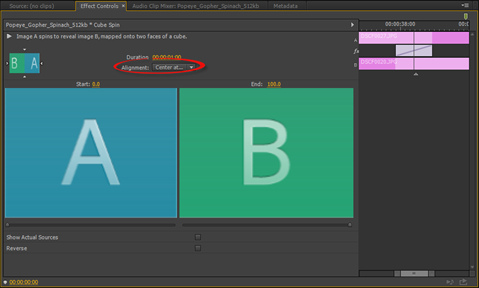
If alignment positions are available, choose the one you want. However, Center at Cut usually works best.
NOTE : You can view alignment positions by selecting the transition, then going to the Effect Controls panel.
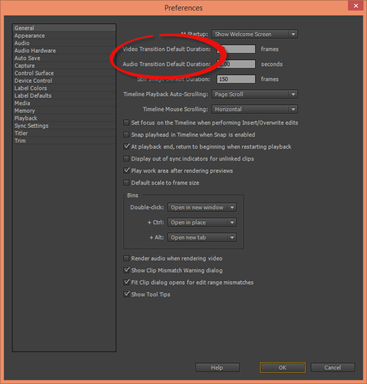
The default duration for a transition is one second. If you need to change this, go to Edit>Preferences>General.
Deleting a Transition
To delete a transition, click on the transition and either press Backspace or right click, then choose Clear.
Replacing a Transition
To replace one transition with another, drag a transition from the Effects panel and place it on the transition you want to replace. Premiere Pro replaces it for you.
Changing the Duration of a Transition
To change how long a clip lasts between two clips, right click on the transition in the Timeline.
Choose Set Transition Duration.
You will then see the Set Transition Duration dialogue box.

Enter the duration you want, then click OK.
Customizing Transitions
Transitions can be customized in much the same way as we customized effects.
To customize a transition, select it in the Timeline.
Next, go to the Effect Controls panel. Make sure you can see the timeline in the Effect Controls panel.
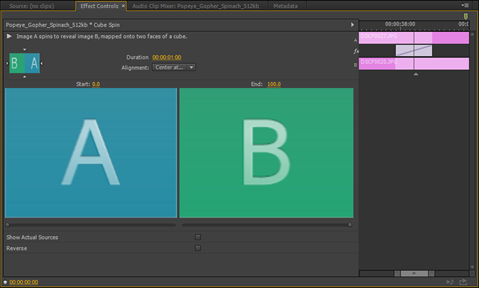
Click the Play button in the Effect Controls panel to see a preview of your transition.
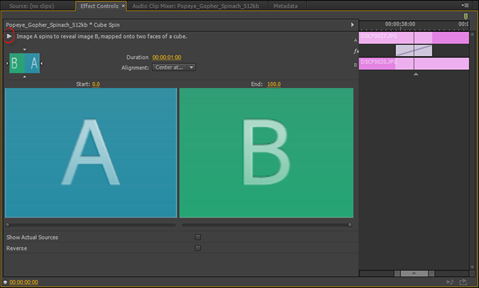
If you want to see your content instead of A/B slates, click Show Actual Sources.
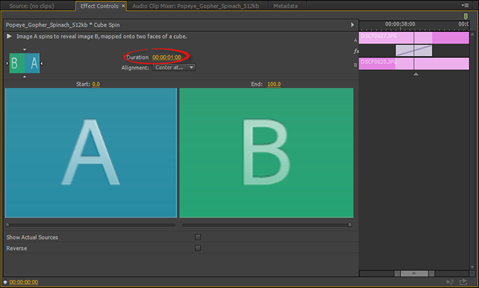
You can also click the Duration field to change the transition duration.
Click the Alignment field to change the alignment.
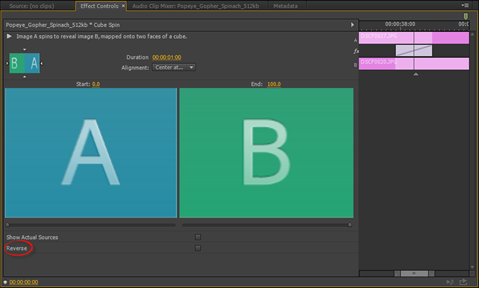
Click Reverse to reverse the transition.

For some transitions, you can also add a border by hovering our mouse over the values, then dragging to the desired values. You can also change the color for the border by clicking the color chip, then picking a color from the Color Picker dialogue box.
When you click OK to close out the Color Picker dialogue box, you can then preview the border in the Program Monitor.
Adding the Default Transition to Multiple Clips
To add the default transition to multiple clips, first select the clips in the Timeline.
We are going to draw a marquee around the clips we want to select, as pictured below.
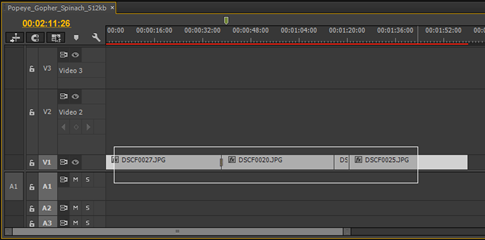
To drag a marquee, click in a blank area of the video area in the Timeline (if you are selecting video clips), press down the left mouse button and drag.
Next, go to Sequence>Apply Default Transitions to Selection.
When you do this, Premiere Pro inserts the default transitions. This includes fade-ins and fade-outs.
Creating a Fade-In
To create a fade in so your clip fades in from black, go to the Effects panel.
Drag the Cross Dissolve transition to the start of the video (in the Timeline).
Creating a Fade-Out
To create a fade-out so that the last clip in your video fades out to black, go to the Effects panel.
Drag the Cross Dissolve transition to the end of the video on the Timeline.
Working with Audio Transitions
Let's look at the audio transitions available in the Effects panel.
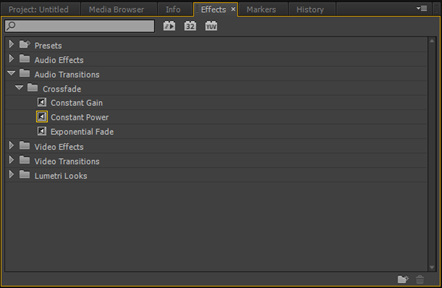
NOTE : With both video and audio transitions, the transition highlighted with a yellow border is the default transition.
There are three audio transitions available in the Effects panel: Constant Gain, Constant Power, and Exponential Fade.
Audio transitions are a lot like video transitions in that you add them the same way, you can change the duration, and you can edit them. That said, this section should be easy for you since we just covered video transitions.
Adding an Audio Transition
To add an audio transition, drag an audio transition from the Effects panel to the intersection of two audio clips. Again, as with video transitions, it is best to choose Center at Cut alignment if possible.

In the snapshot above, you can see the audio transition between the two audio clips.


