Moving from Page to page
After you open a document, you may want to move around to different pages. This is easy and, if you've used any other program before, it may seem familiar.
The first method that you can use to move from page to page is to press the left or right arrow keys on your keyboard. Press the left arrow key to go back a page. Press the right arrow key to go forward a page. You can also press the Page Up or Page Down key on your keyboard.
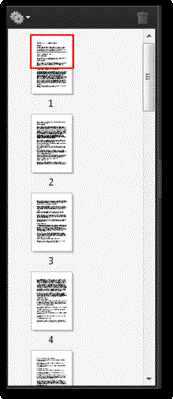
You can also use the Navigation Pane to move between pages. Simply click the thumbnail of the page that you want to view, as shown below.

In Acrobat-speak, a view includes the document, page number, and zoom. Whenever you go to a new page, zoom in or zoom out, or open a new document you change to a new view.
For example, if you zoom in on a page, that's a view. Once you zoom out, that's another view.
Let's show you what we mean. We're going to zoom in on a page. We'll show you how to zoom in later.
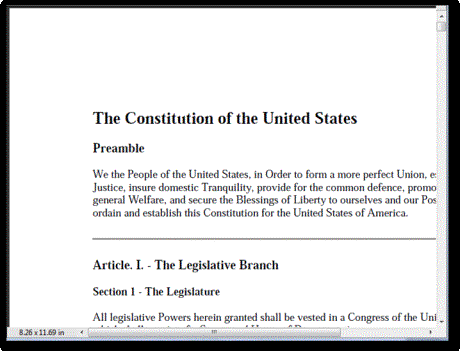
Here's our original page:
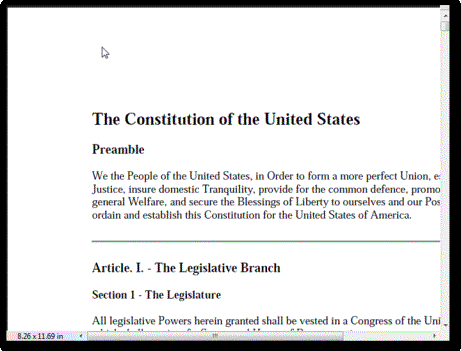
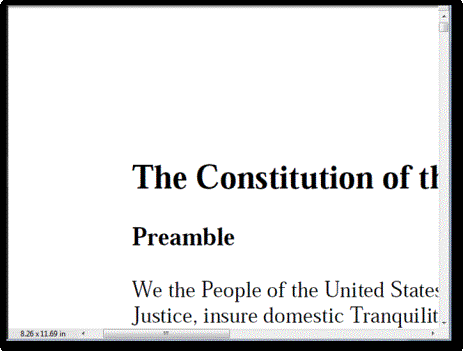
We can return to our previous view (before we zoomed in), by going to View>Go To>Previous View.
As you can see, we are returned to our original view:
The Zoom Tools
Acrobat gives you a Select & Zoom toolbar that give you a few methods to get a closer look at a page or an area of a page. The toolbar is pictured below:


You can also use the dropdown menu to zoom in or out:

The Marquee Zoom Tool
The Marquee Zoom tool ( ) is the tool you use if you want to get a better look at part of a page. To use it, click on the tool. Your mouse pointer will turn into a magnifying glass with a plus sign on it.
Click in the document area, then draw a rectangle around the area of the page you want to zoom in on:
The Dynamic Zoom tool doesn't show on the toolbar by default. You'll have to add it. Go to View>Toolbars>More Tools.
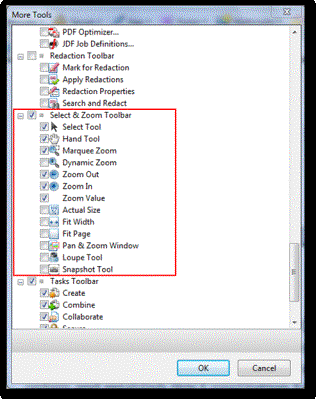
Click OK.
We can now see that our Select & Zoom toolbar has three new tools added:

 .
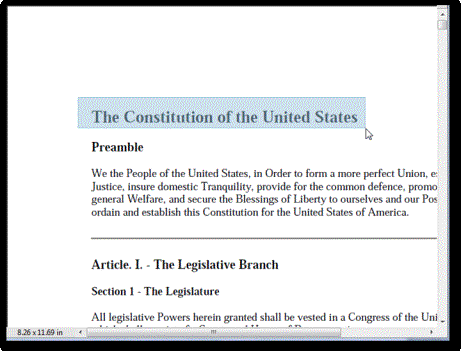
. The Dynamic Zoom tool allows you to zoom in and out of a page by clicking and moving the mouse. If you drag the mouse to the upper left, you'll zoom in. If you drag your mouse to the lower right, you'll zoom out.
Click on the Dynamic Zoom tool.
Drag your mouse to the upper left.
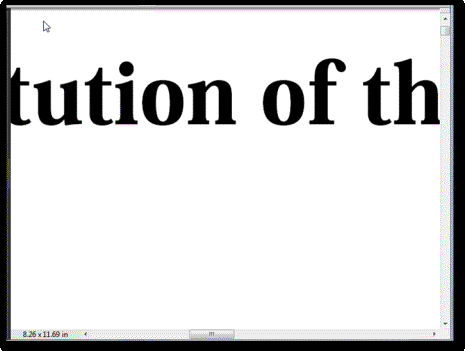
Now drag it to the lower right.
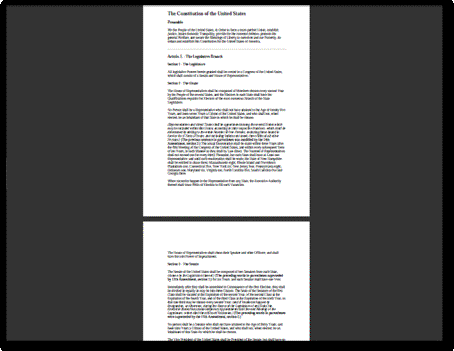
The Loupe tool looks like this:
 .
. The Loupe tool allows you to get a close-up view of the area that surrounds your mouse pointer. When you move your mouse pointer around the window, a floating loupe window reveals an updated close-up of that area.
Let's show you how it works.
Click on the Loupe tool. You'll notice your mouse pointer becomes a small crosshair.
Now, click in the document window.
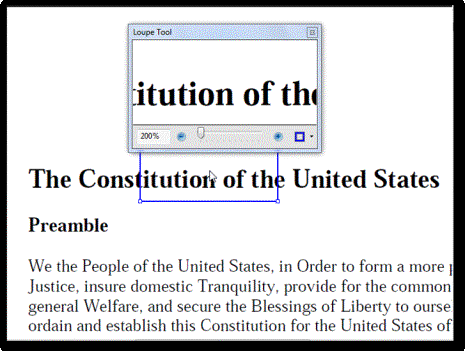
As you can see above, the Loupe tool gives you a close-up of the area where your mouse pointer is hovering. Now, move your mouse around, and click in different areas of the document:
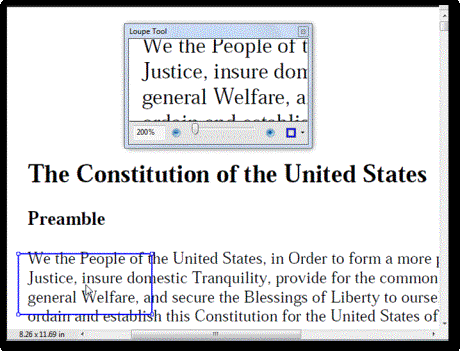
Now, if you look at the Loupe tool in the document area, you'll see the small box that shows the close-up. We've pictured it below:
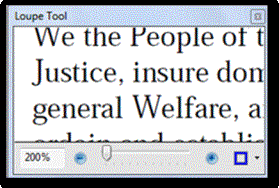
At the bottom of this box, you can increase or decrease the size of the rectangle.
The Pan & Zoom Tool
 . It is the opposite of the Loupe tool. When you use the Pan & Zoom tool, Acrobat gives you a floating window that displays a thumbnail view of the page.
 To see how it works, click on the Pan & Zoom tool.
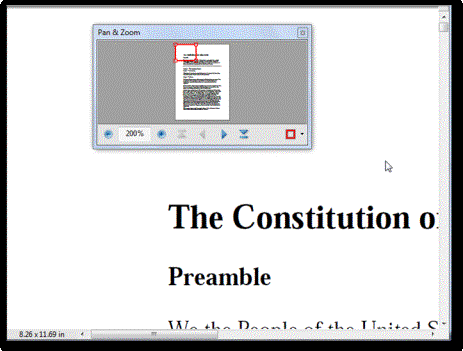
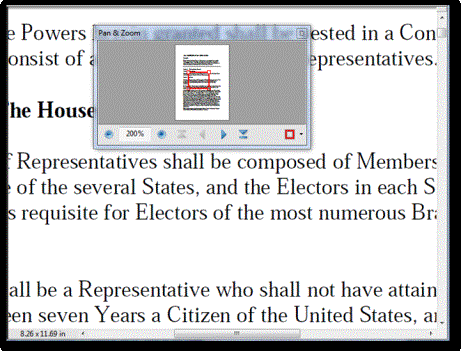
Use the controls to move back to a previous location of the rectangle or move forward: 
 to move to the beginning of the document or
  to move to the end.
Changing the Page Layout
You can also change the page layout to help you view and navigate around a document. To change the page layout, go to View> Page Display, then choose an option:
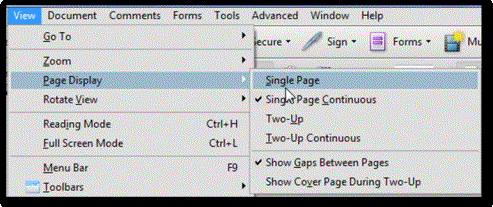
The page layout determines how the pages are shown in the Acrobat window. Single Page Continuous is shown by default. It shows the document as a single, scrollable column.
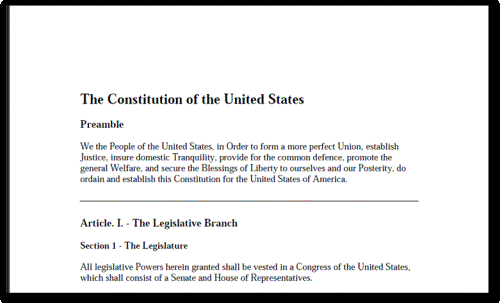
If we choose Two Up Continuous, the pages are side by side:
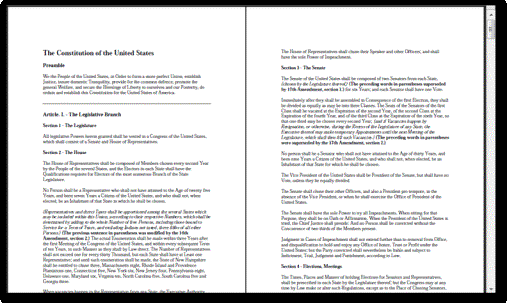
We can also choose to show the cover page during Two Up:
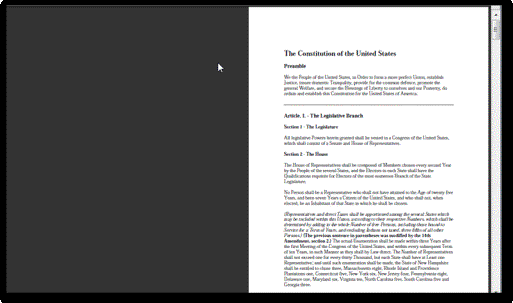
Or to add space between pages in Two Up. The Show Gaps Between Pages option is checked by default.
About Bookmarks
Bookmarks can be used to navigate through a PDF document. Think of it as an interactive table of contents. Open the Navigation Pane and click the Bookmarks icon:  .
.
Any bookmarks contained in the PDF will be listed. As you can see below, there's one bookmark for the PDF document entitled "New Bookmark."
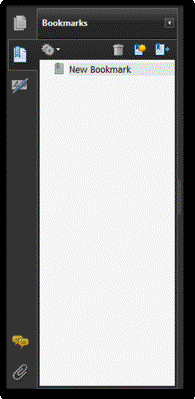
Click on the bookmark and it will take you to that place within the document. Bookmarks can also represent views.
Adobe Acrobat 9 gives you two ways to search for text within a document.
- You can use Find which looks for text with the current document.
- You can also use Search which allows you to look for text in multiple PDF documents.
To find text in a document, make sure the Find toolbar is active. It looks like this:

If it's not, go to View>Toolbars>More Tools and put a checkmark beside it.
Click the downward arrow beside the Find field and set your search options:
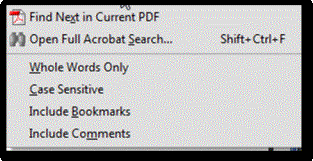
You can search for whole words only, make the search case sensitive, include bookmarks, or include comments. As you can see, you can also open Search, but we'll do that later.
Choose your options. Since we're going to look for the word "we," we're going to select Whole Words Only. Otherwise, our results will show every word with "we" in it.
Now, type the word or phrase that you want to find in the current document, then hit Enter (or Return).
You now see two additional buttons on the Find toolbar:

In addition, every instance of the word in the document is highlighted.

You can use the
 buttons on the toolbar to go forward to the next instance or back to the previous one.
 To search multiple PDF documents, go back to the Find field on the Find toolbar, click the downward arrow, then select Open Full Acrobat Search.
This opens the Search dialogue box. It looks like this:
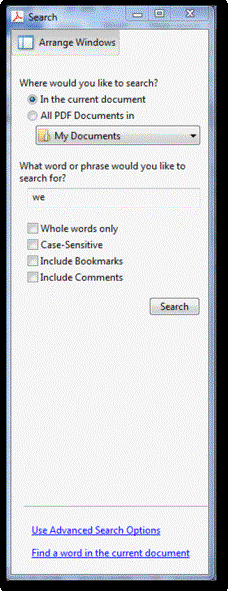
If you want to search multiple documents, select All PDF documents In, then select a location on your computer under "Where would you like to search?"
Now, enter the word or phrase you want to search for, and set your options just like you did with Find.
Click the Search button.
Adobe then performs the search:
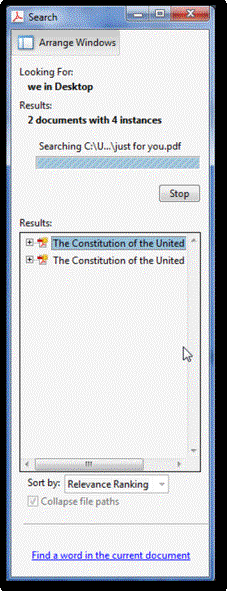
When it's finished, you see the complete results:
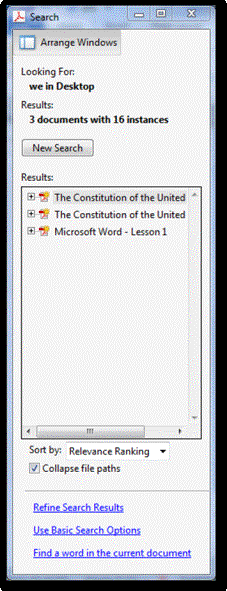
Click the + sign beside any of the results, and you can see the instances:
